Jump to Topic:
Overview
Managing Projects
Creating and Editing Notes
Accessing Requirements
Creating and Editing Open Items
Overview
The Project Manager manages the company’s projects. They can create projects, and view the data contained in projects. This allows them to monitor the activities and progress of projects. However, they cannot add or modify requirements within the project except for adding comments. They can create and update notes and open items.
Managing Projects
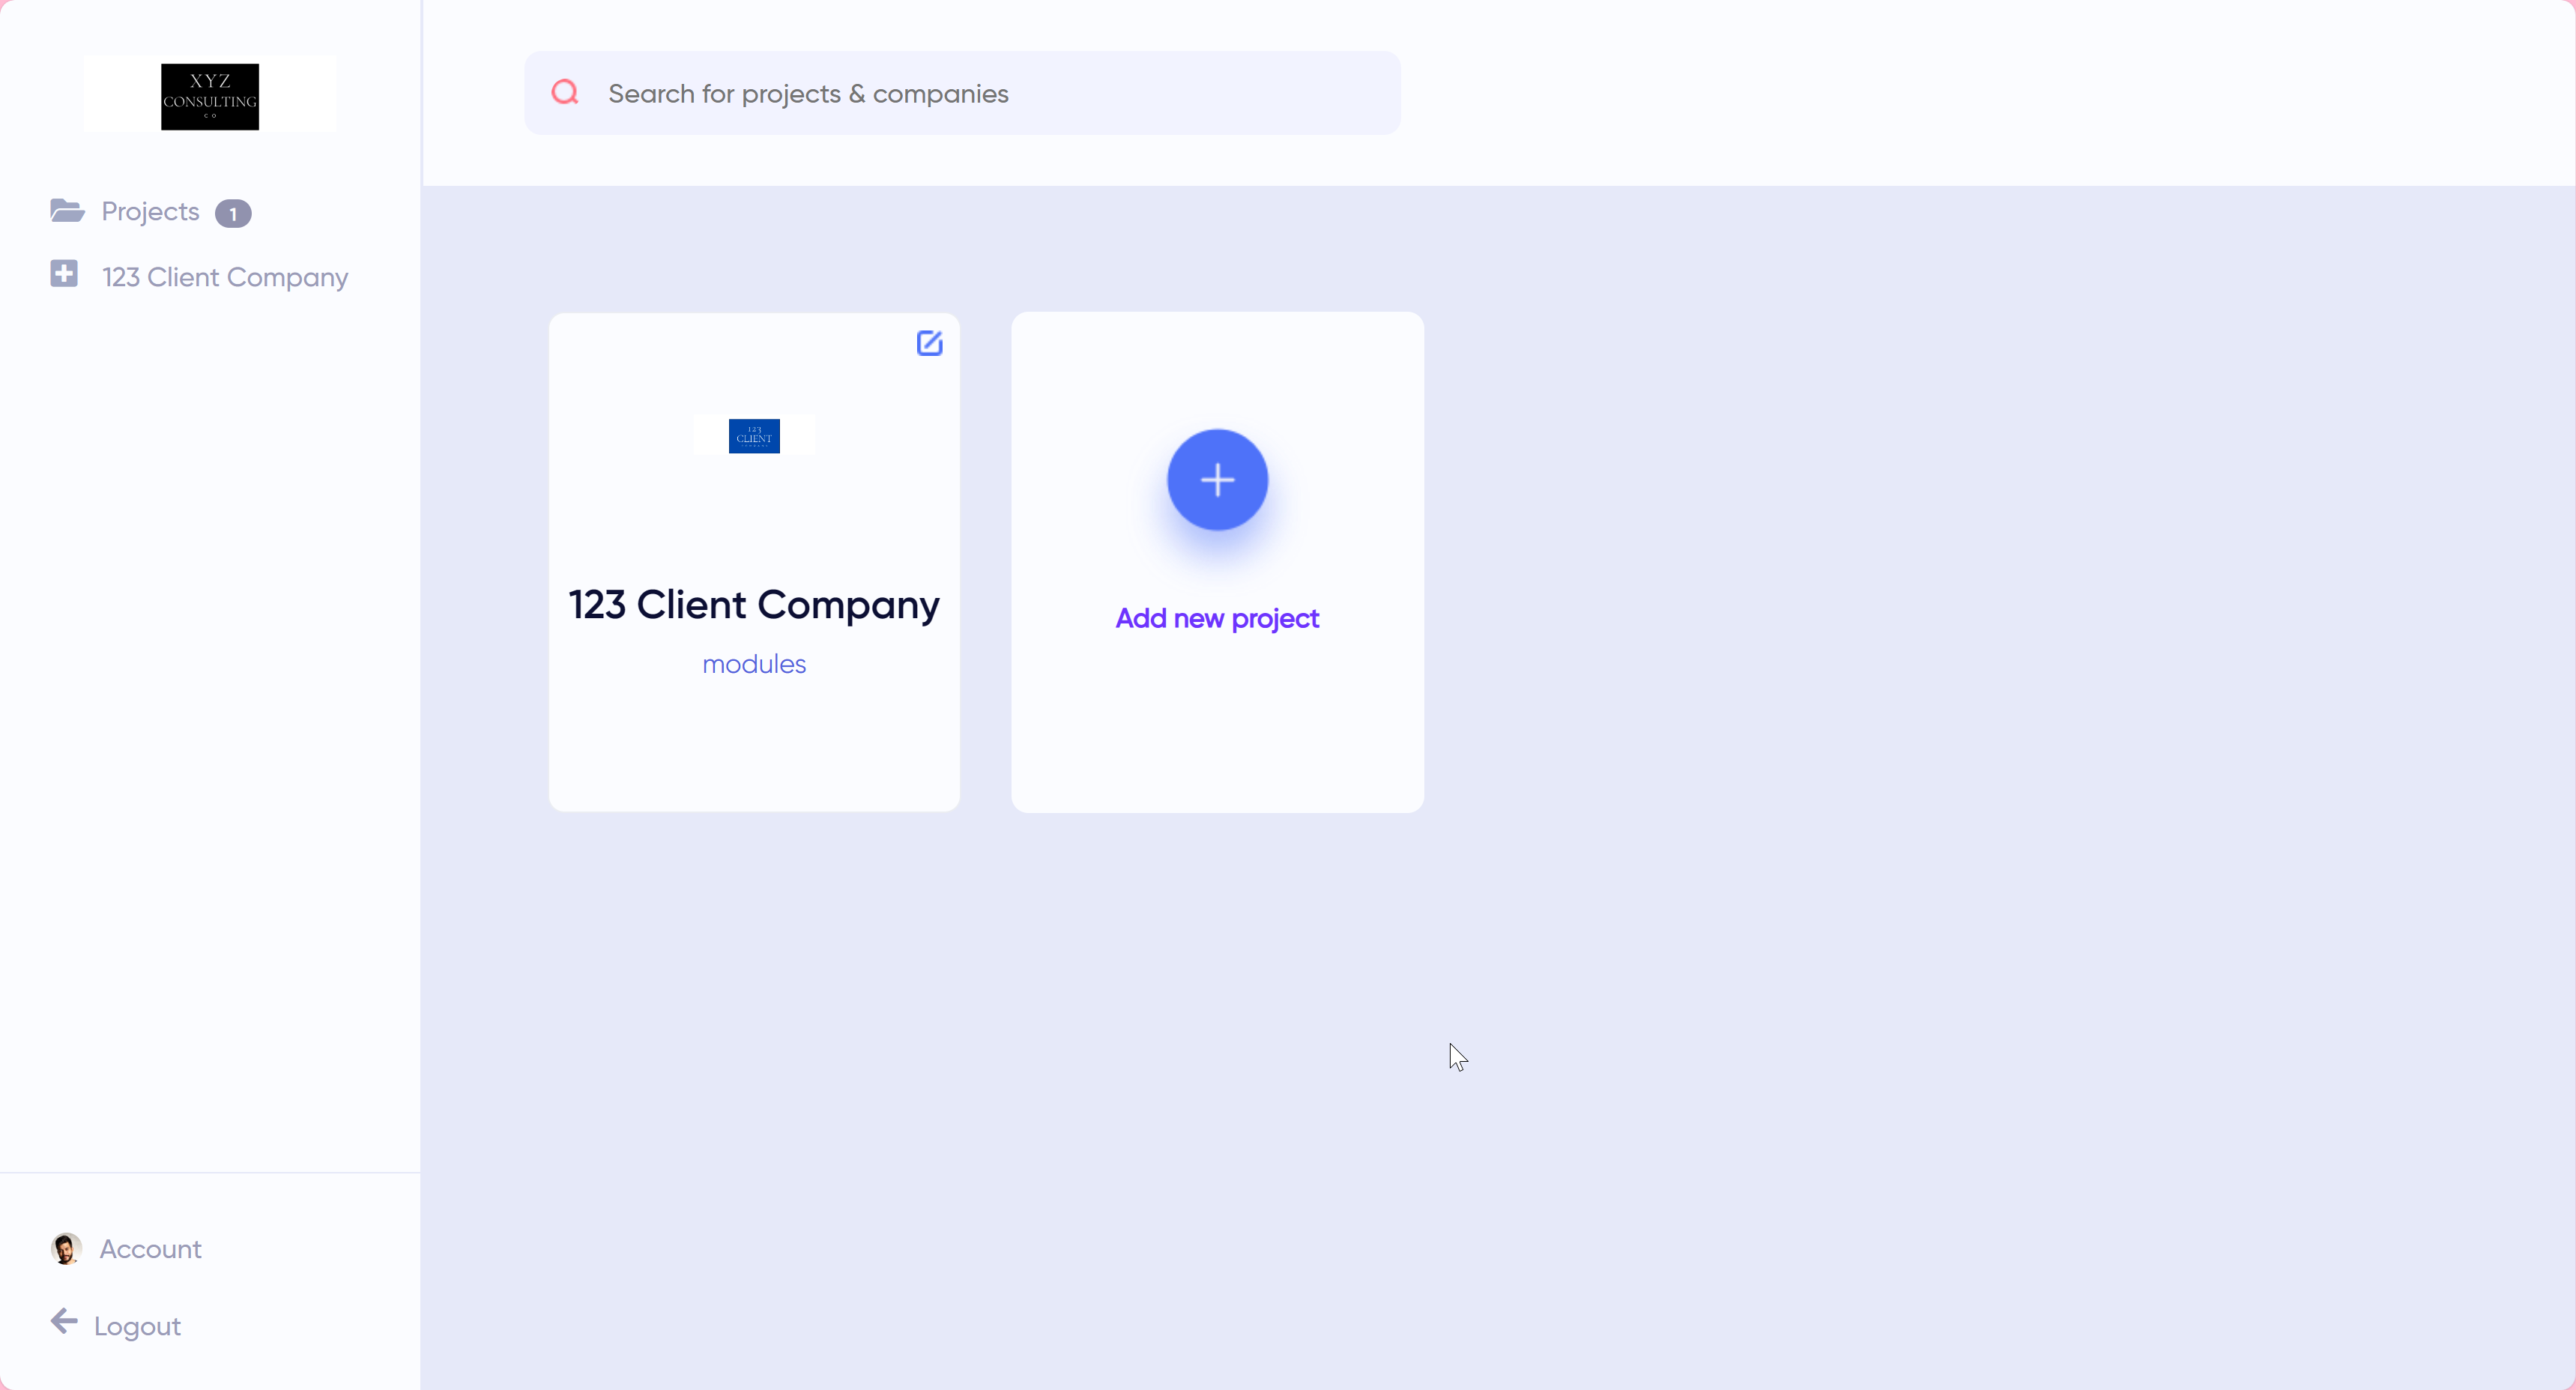
A Project Manager manages projects that they've created or that they've been added to as a project manager.
Add a New Project
To create a new project, click on the Add new project button.

Logo
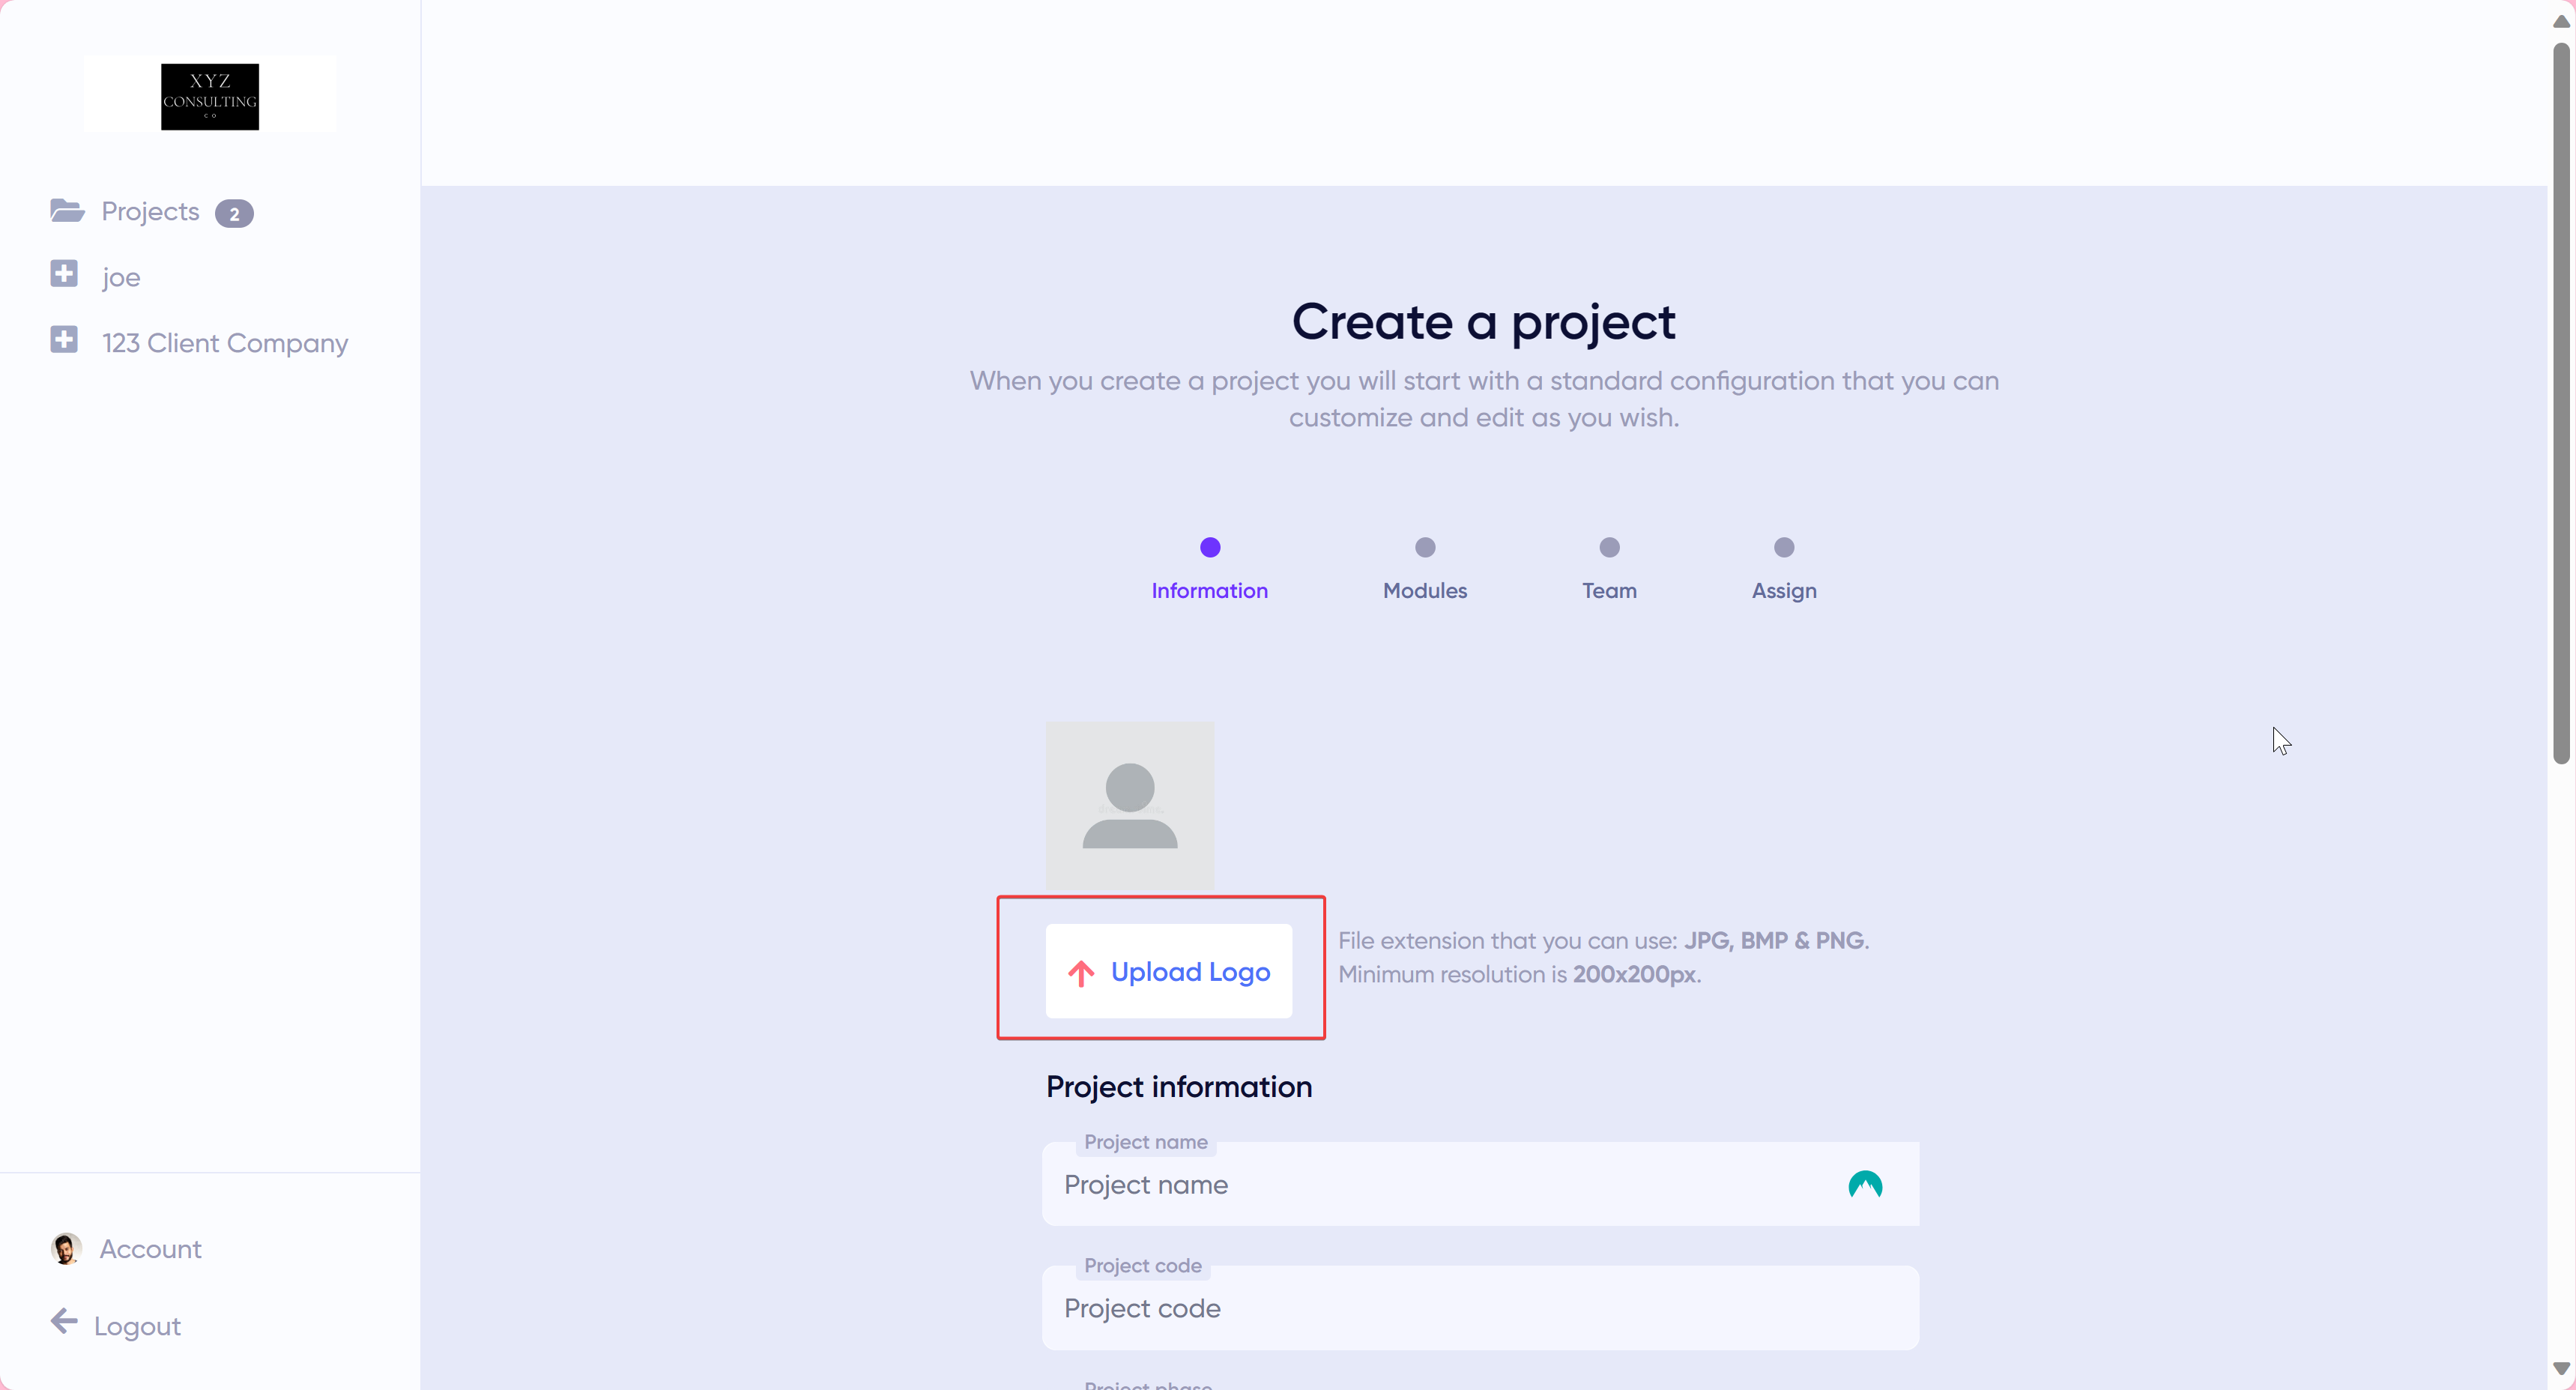
Next, upload the client’s logo.
Project and Client Company Information
Next, fill in the Project Information and Client Company Information. Project and Client Company names must be provided while the rest of the information is optional.

Click Continue
Modules
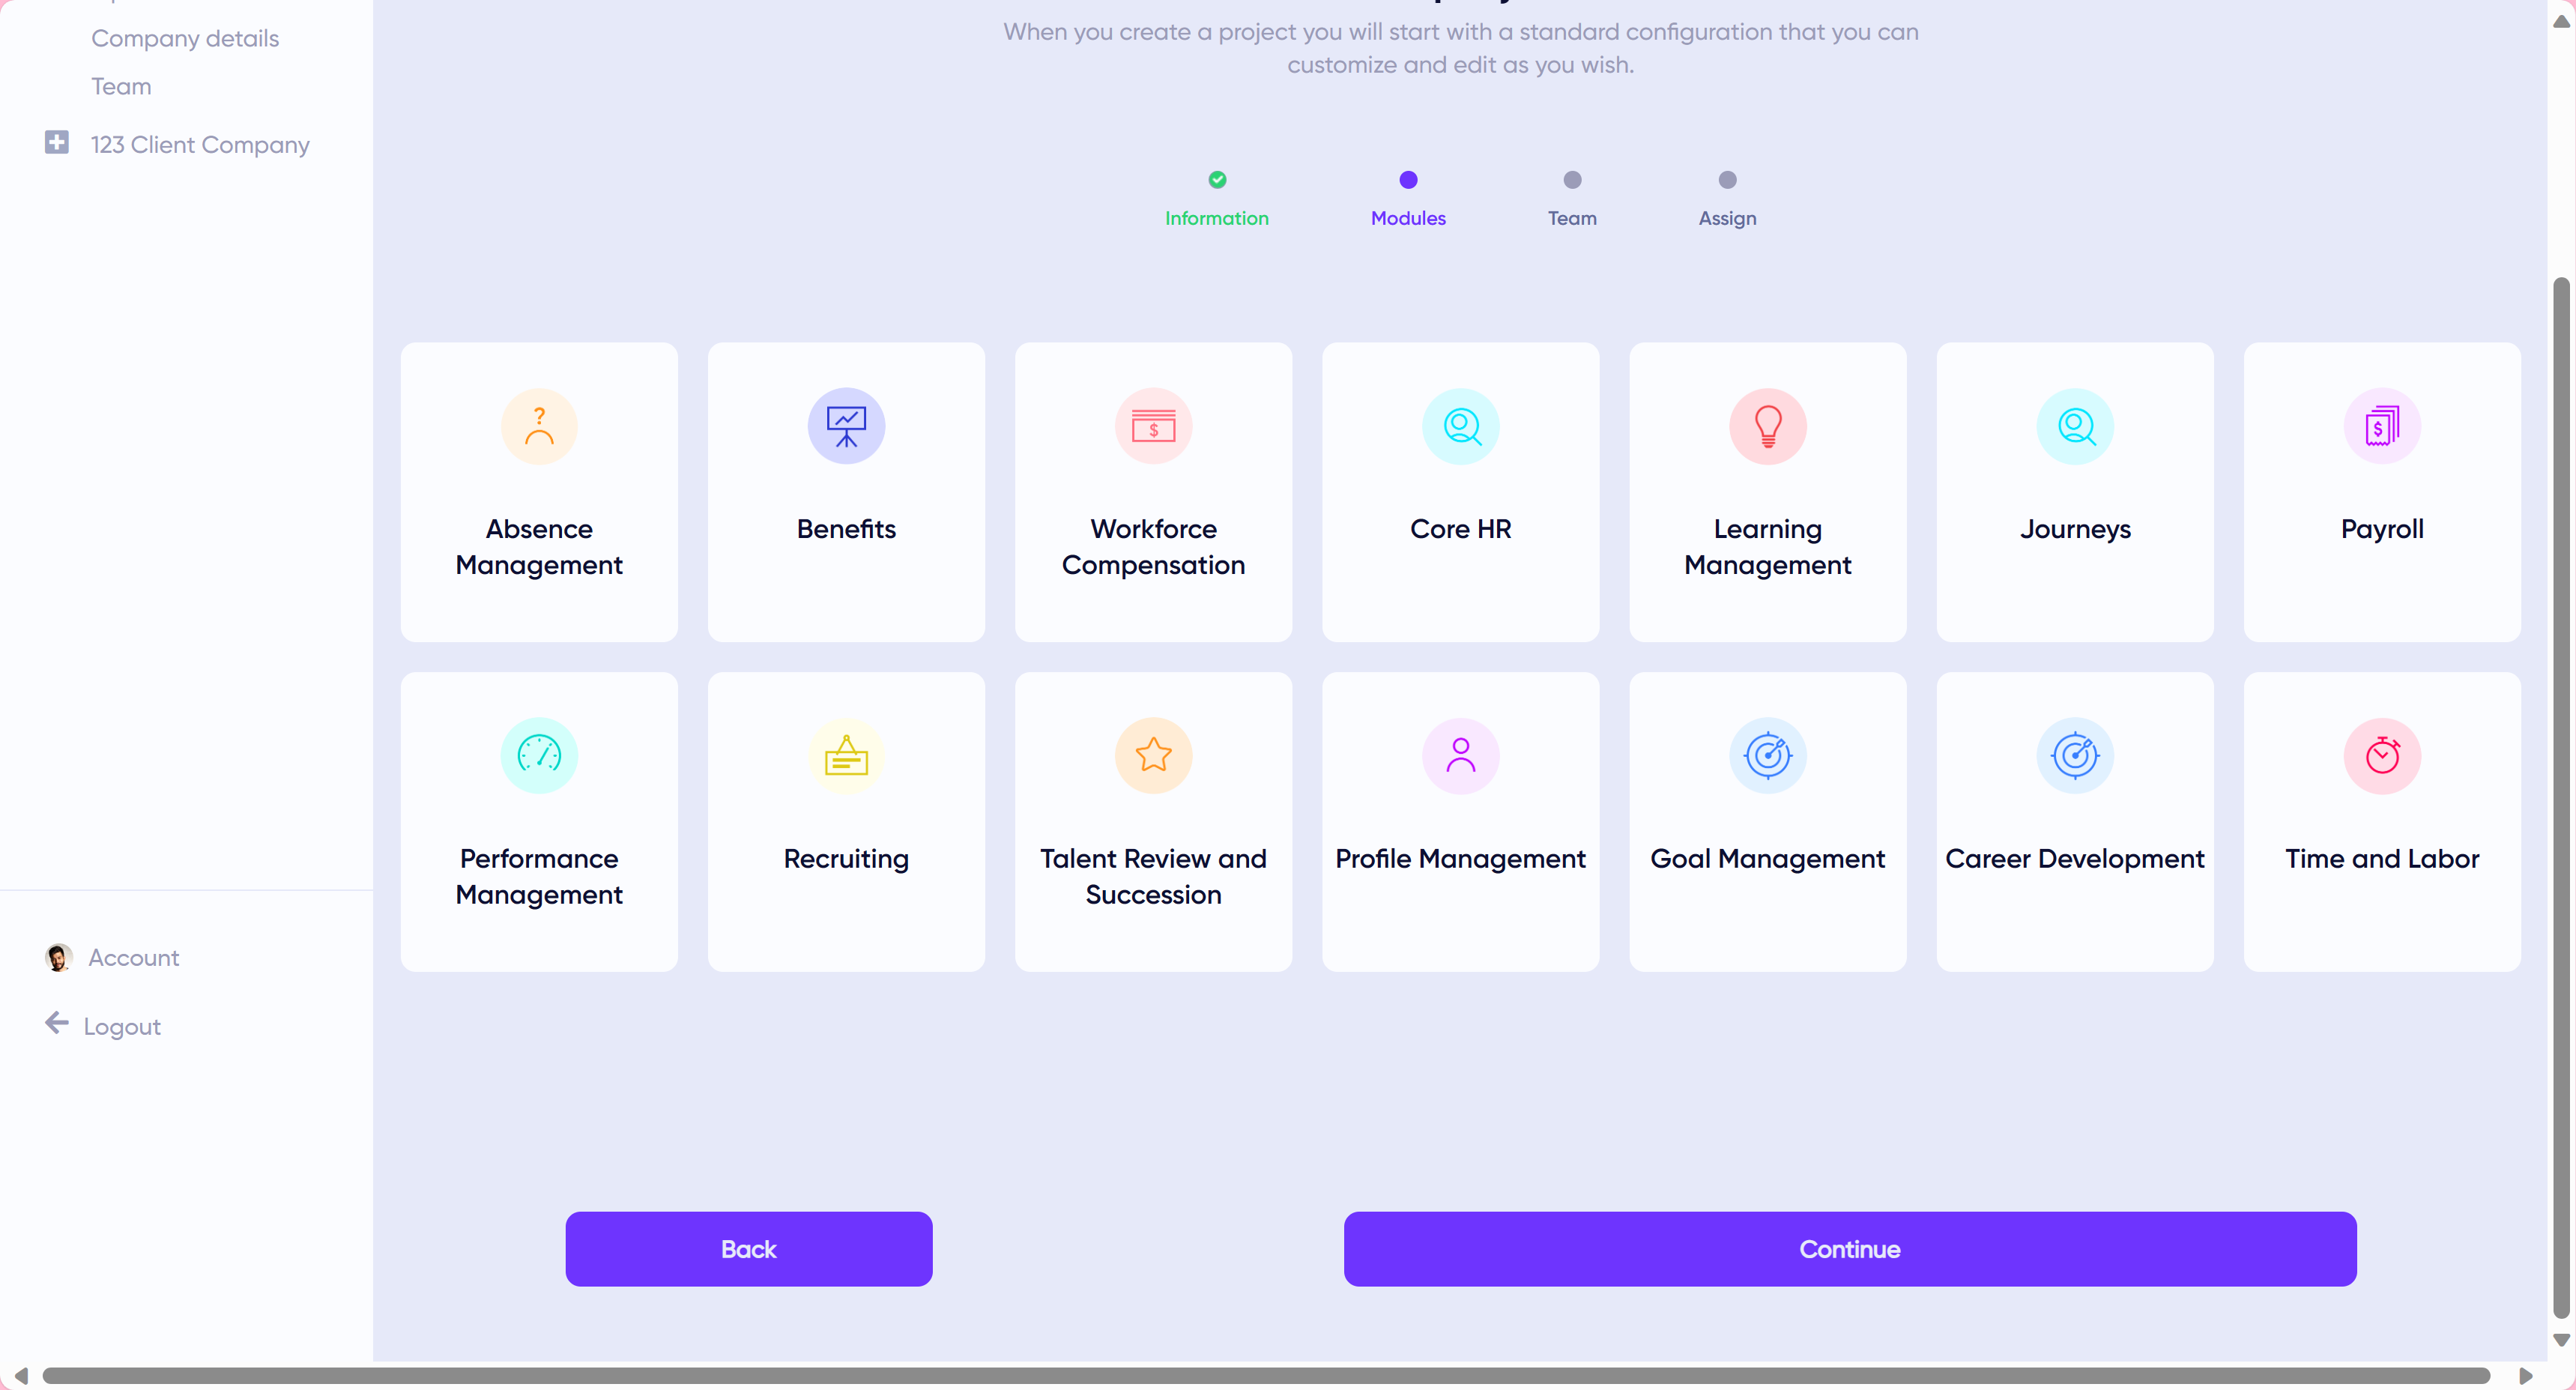
Select the Modules for the project. You must select at least one module to be able to assign project managers and consultants to the project in the next step.
Click Continue.
Team
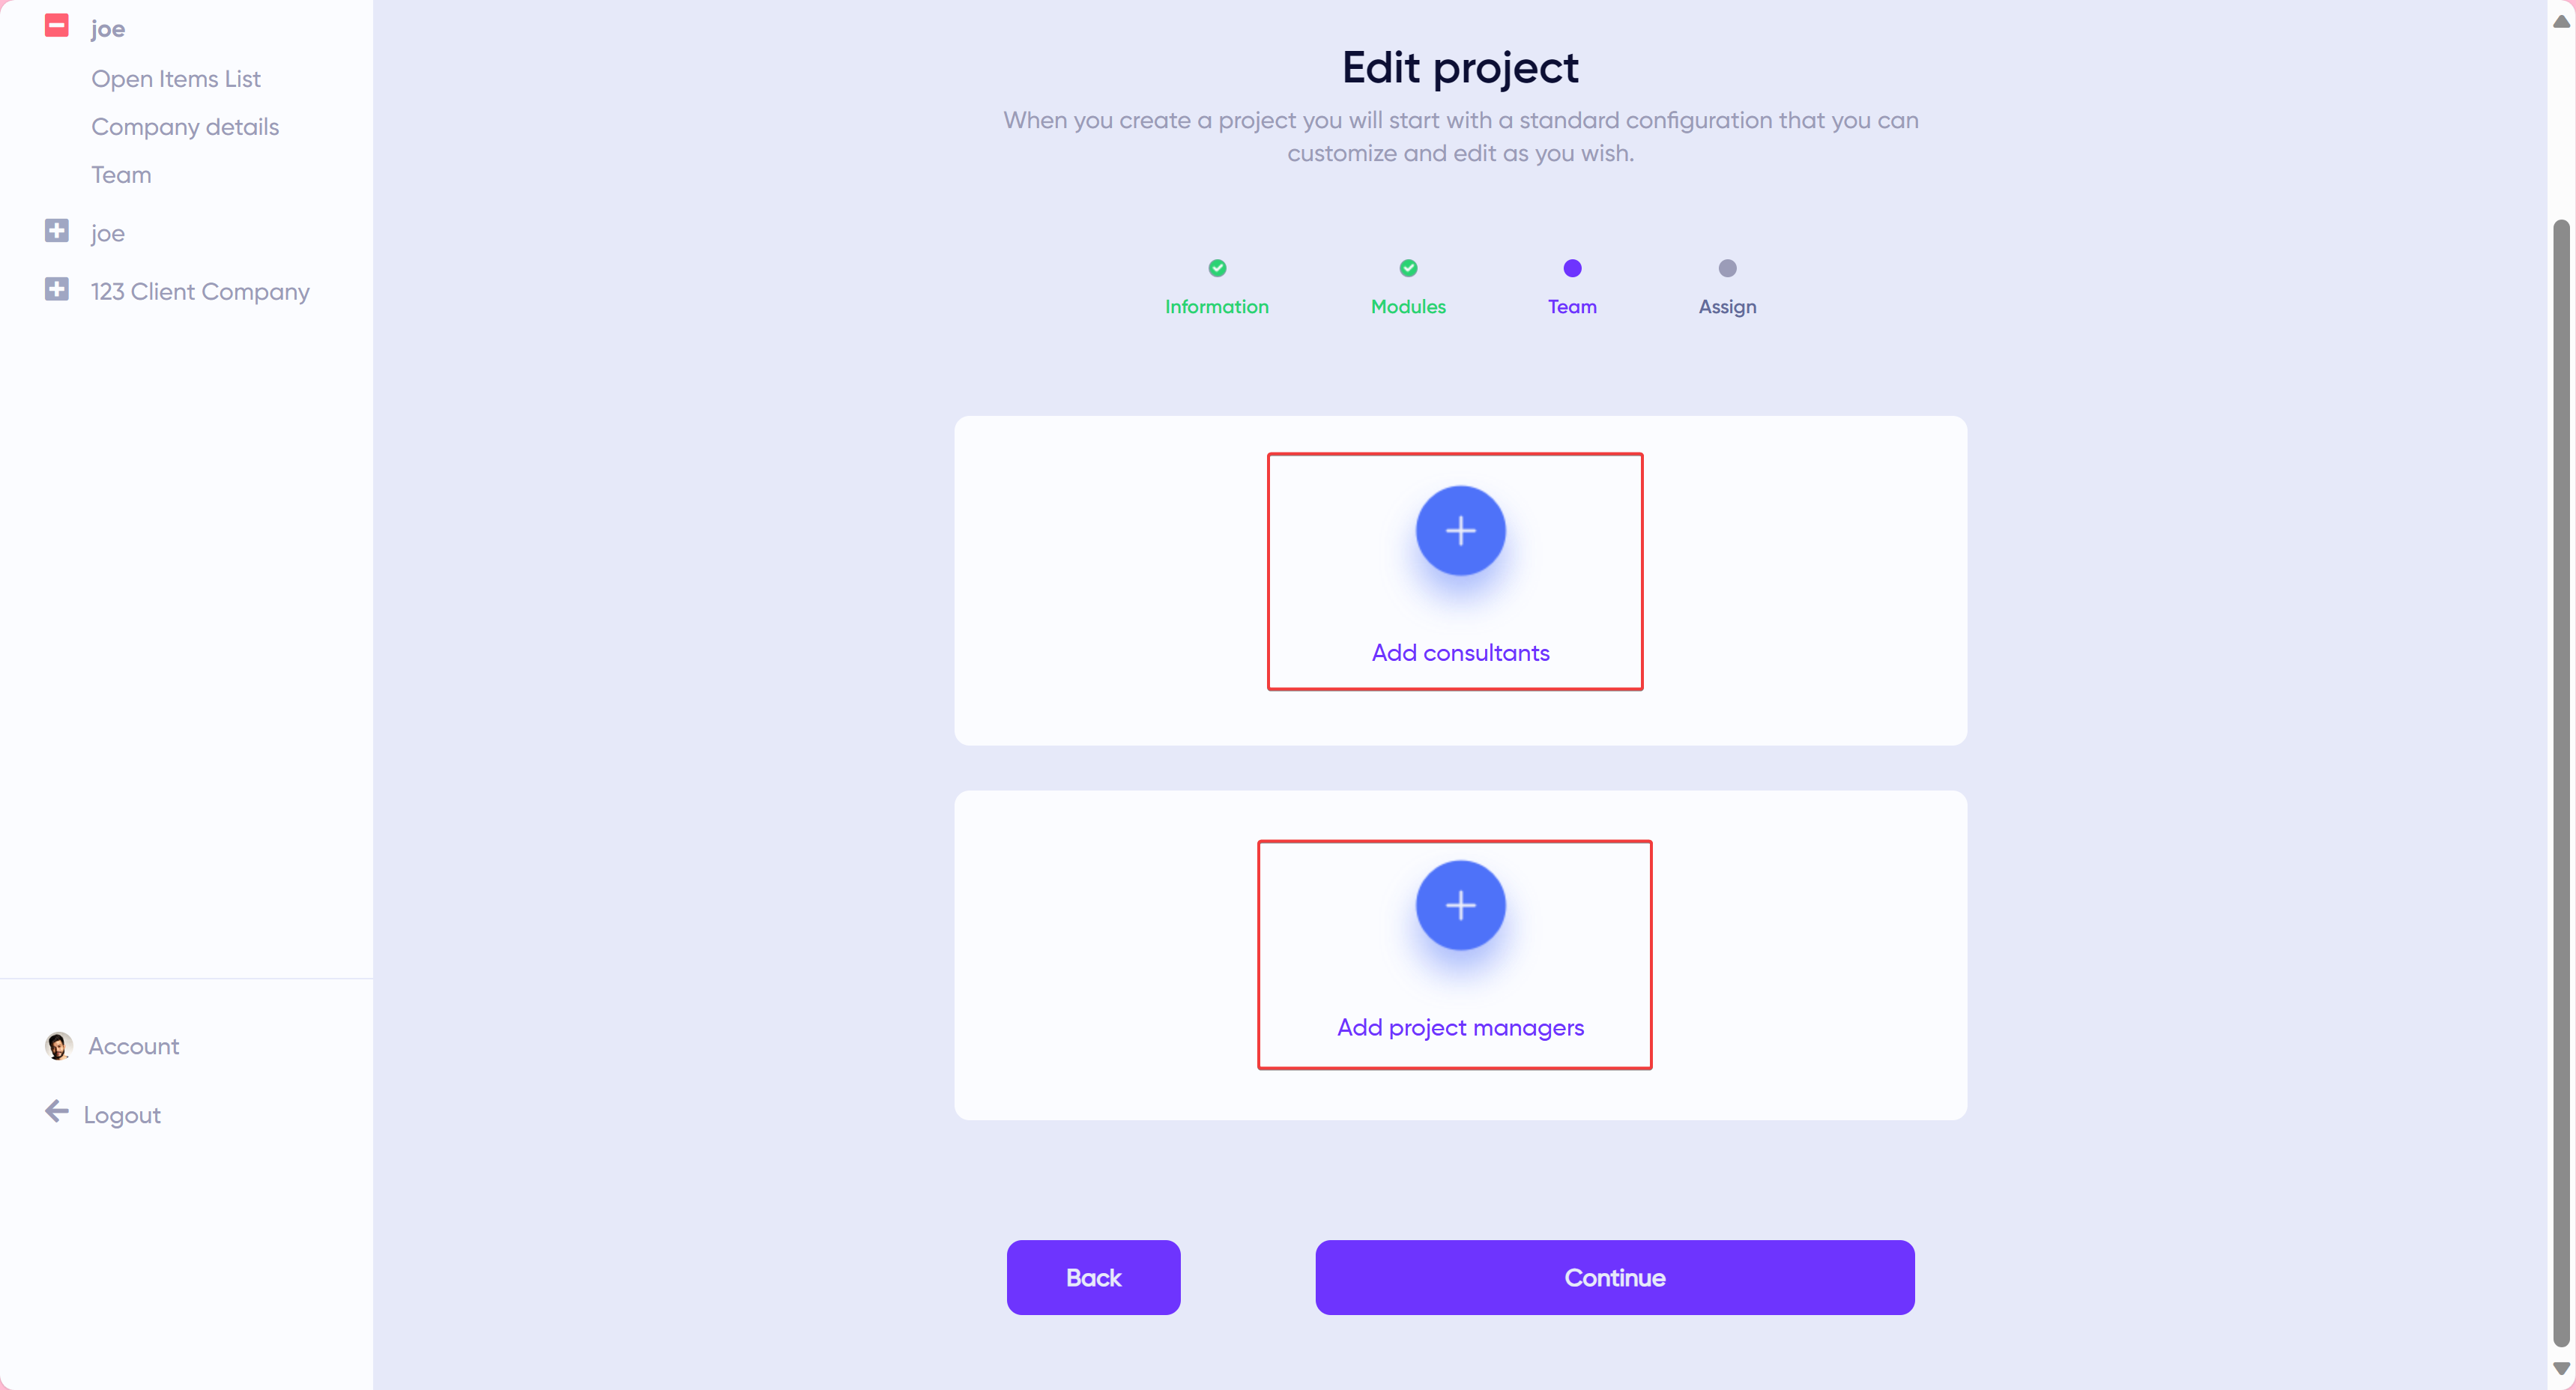
Next, add Consultants and additional Project Managers (optional) to the project. Consultants will be the users that are managing the requirements for their respective modules whereas project managers will be able to modify the project such as by adding or removing modules, assigning consultants, and viewing the progress over time.
Assign
Allow consultant(s) View (read-only) or Full Access (create and edit) to requirements within each module. Access defaults to Full Access. For example, if one consultant is the lead for module A and a second consultant is the lead for module B, you can provide the first consultant with full access to module A and only view access to module B then vice versa for the other consultant. This allows each consultant to own their respective module by being the only one who can update requirements while still providing visibility to the rest of the team.

Click on Save Project.
Edit Project
To edit a project, click on the icon on the top-right corner of the project. Any of the project details can be edited at a later time though once requirements are added to a project, that module cannot be removed from the project. Delete all requirements for that module if you would like to remove it from the project.

Creating and Editing Notes
Notes allows project managers to record important details about the project.
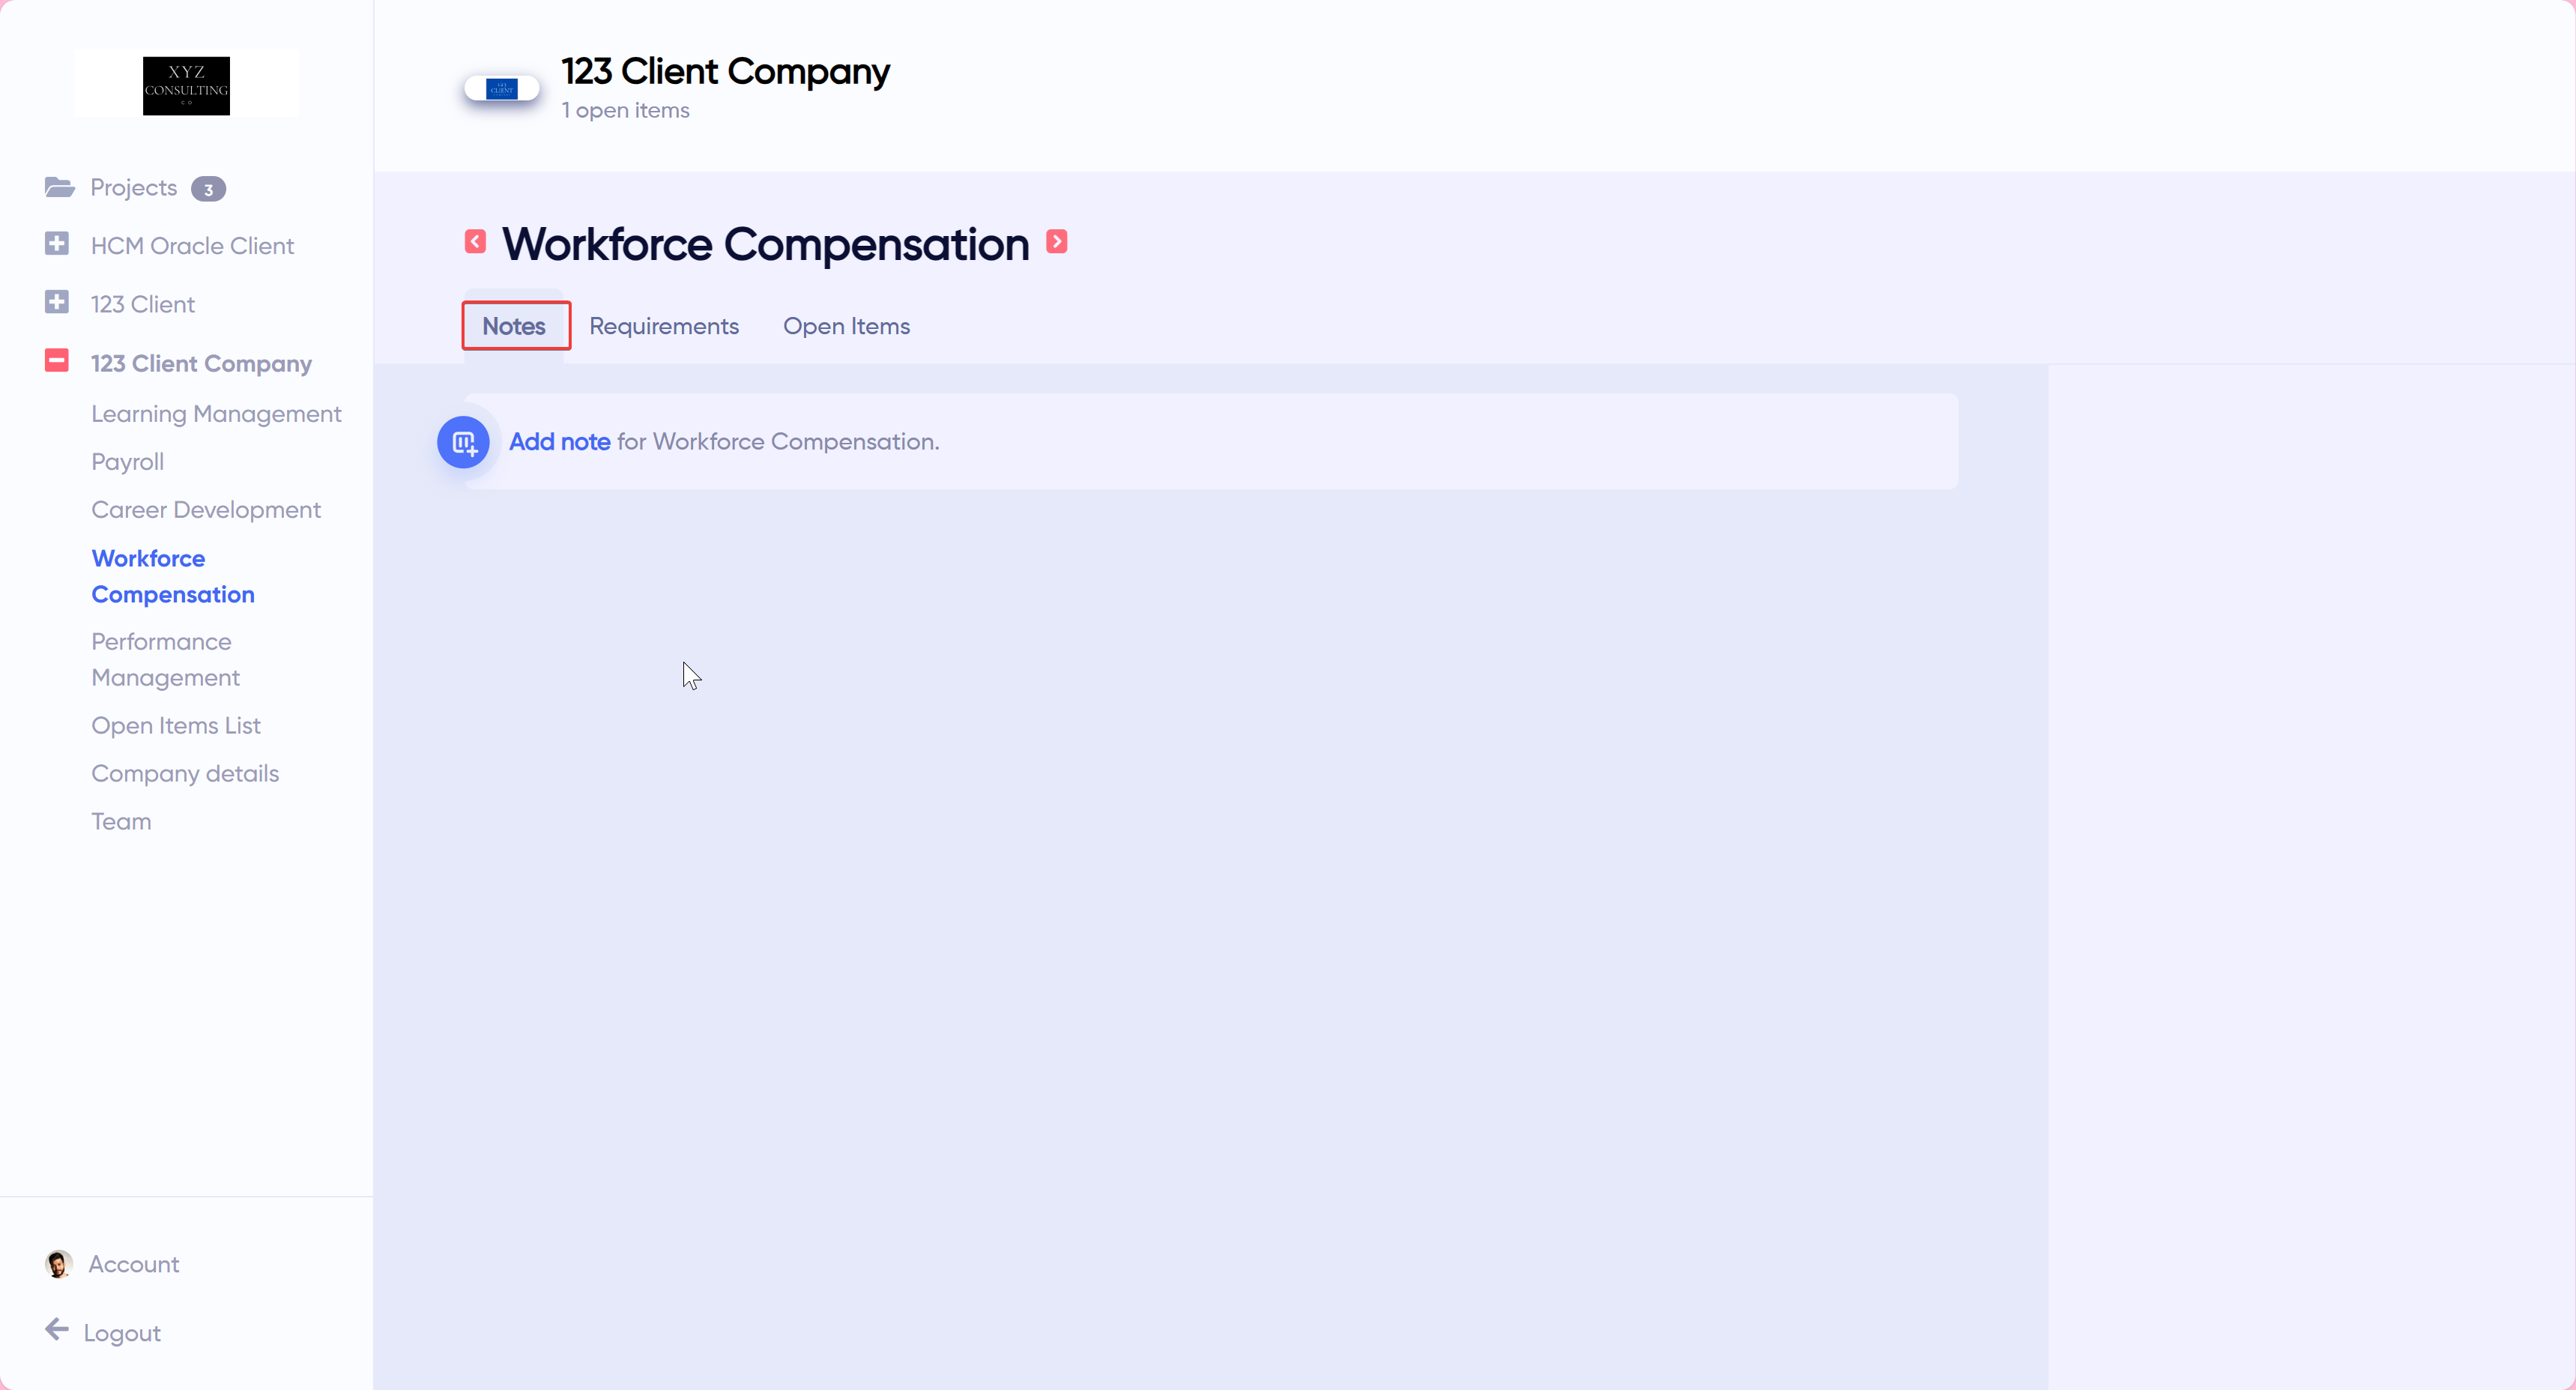
Creating Notes
Follow the steps below to create notes:
Click on Add Notes.
Type in the title and body of the note.
Click the checkmark icon to save changes.
Editing Notes
Follow the steps below to edit a note:
Click on a Note on the right-side panel.
Click in the title or body to add changes.
Click on the tick icon to save changes.
Delete Notes
Follow the steps below to delete a note:
Click on the delete icon of a note.
Confirm the delete operation in the pop-up box.
Accessing Requirements
Project managers can access requirements within a project only after a consultant adds at least one requirement.

A project manager can export, search, and filter requirements.
Export Requirements
To export notes, requirements, and open items for a project, click the Export button in the top right then make your selection and click Export selected.

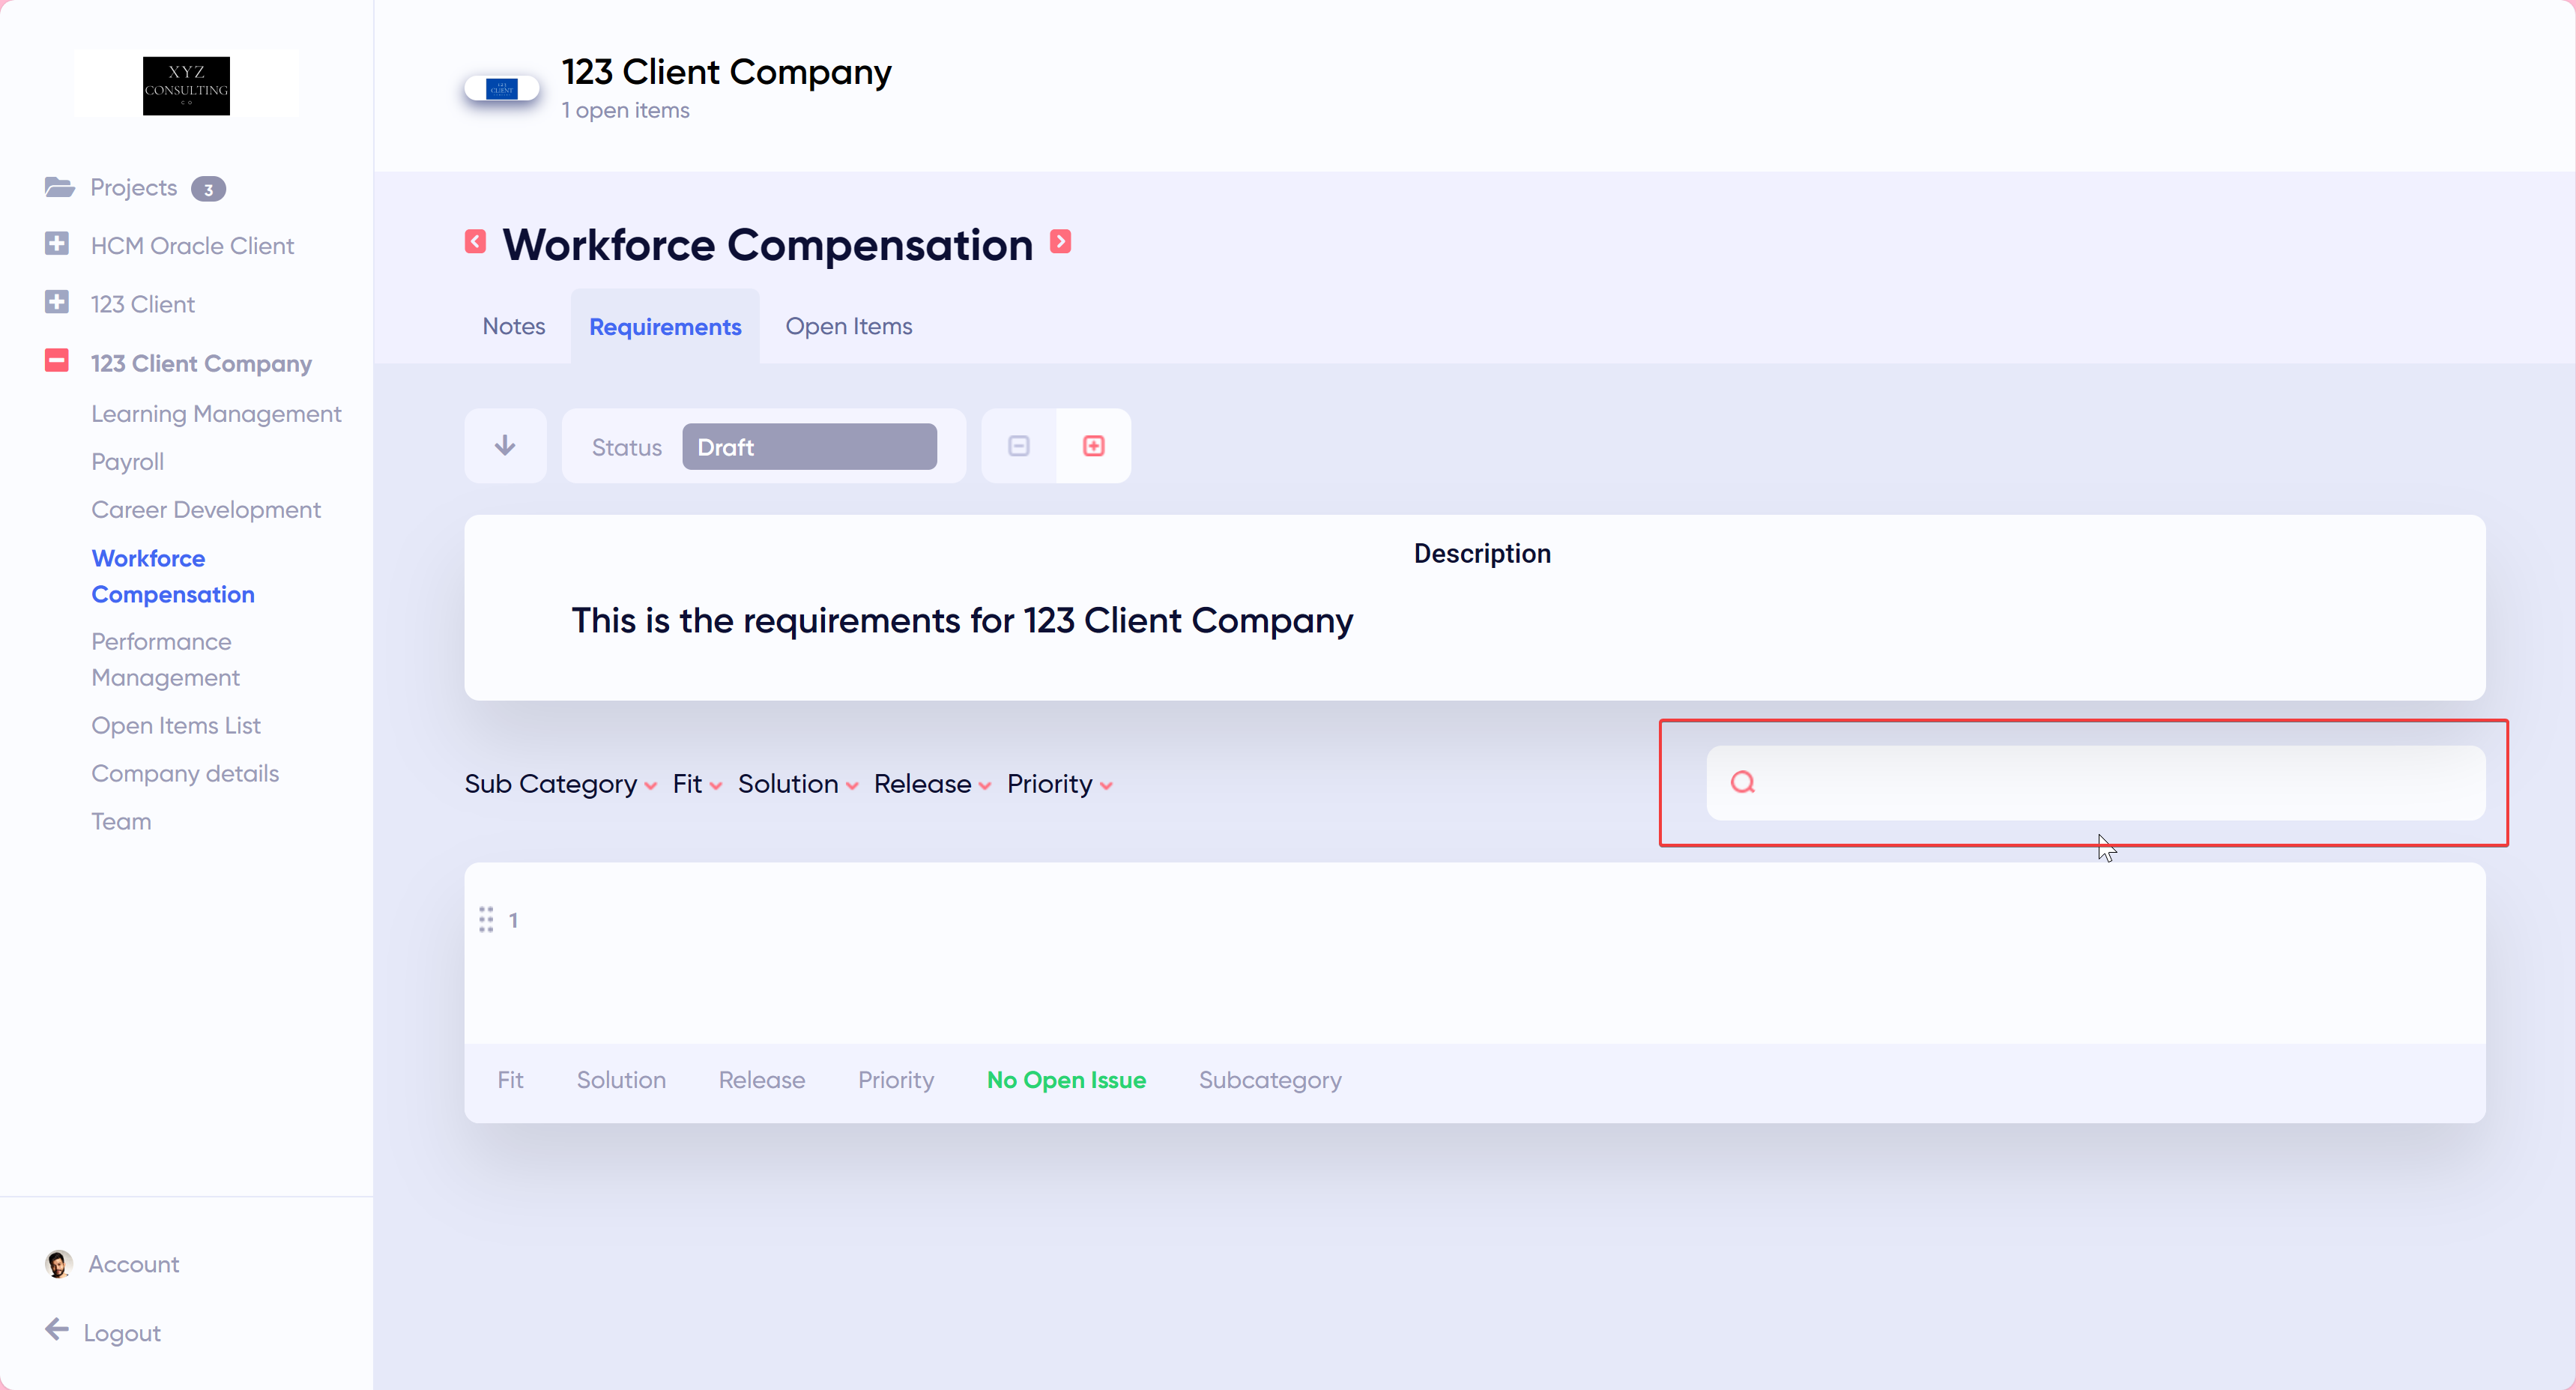
Search Requirements
To search requirements, click on the Search and type in your search keyword.
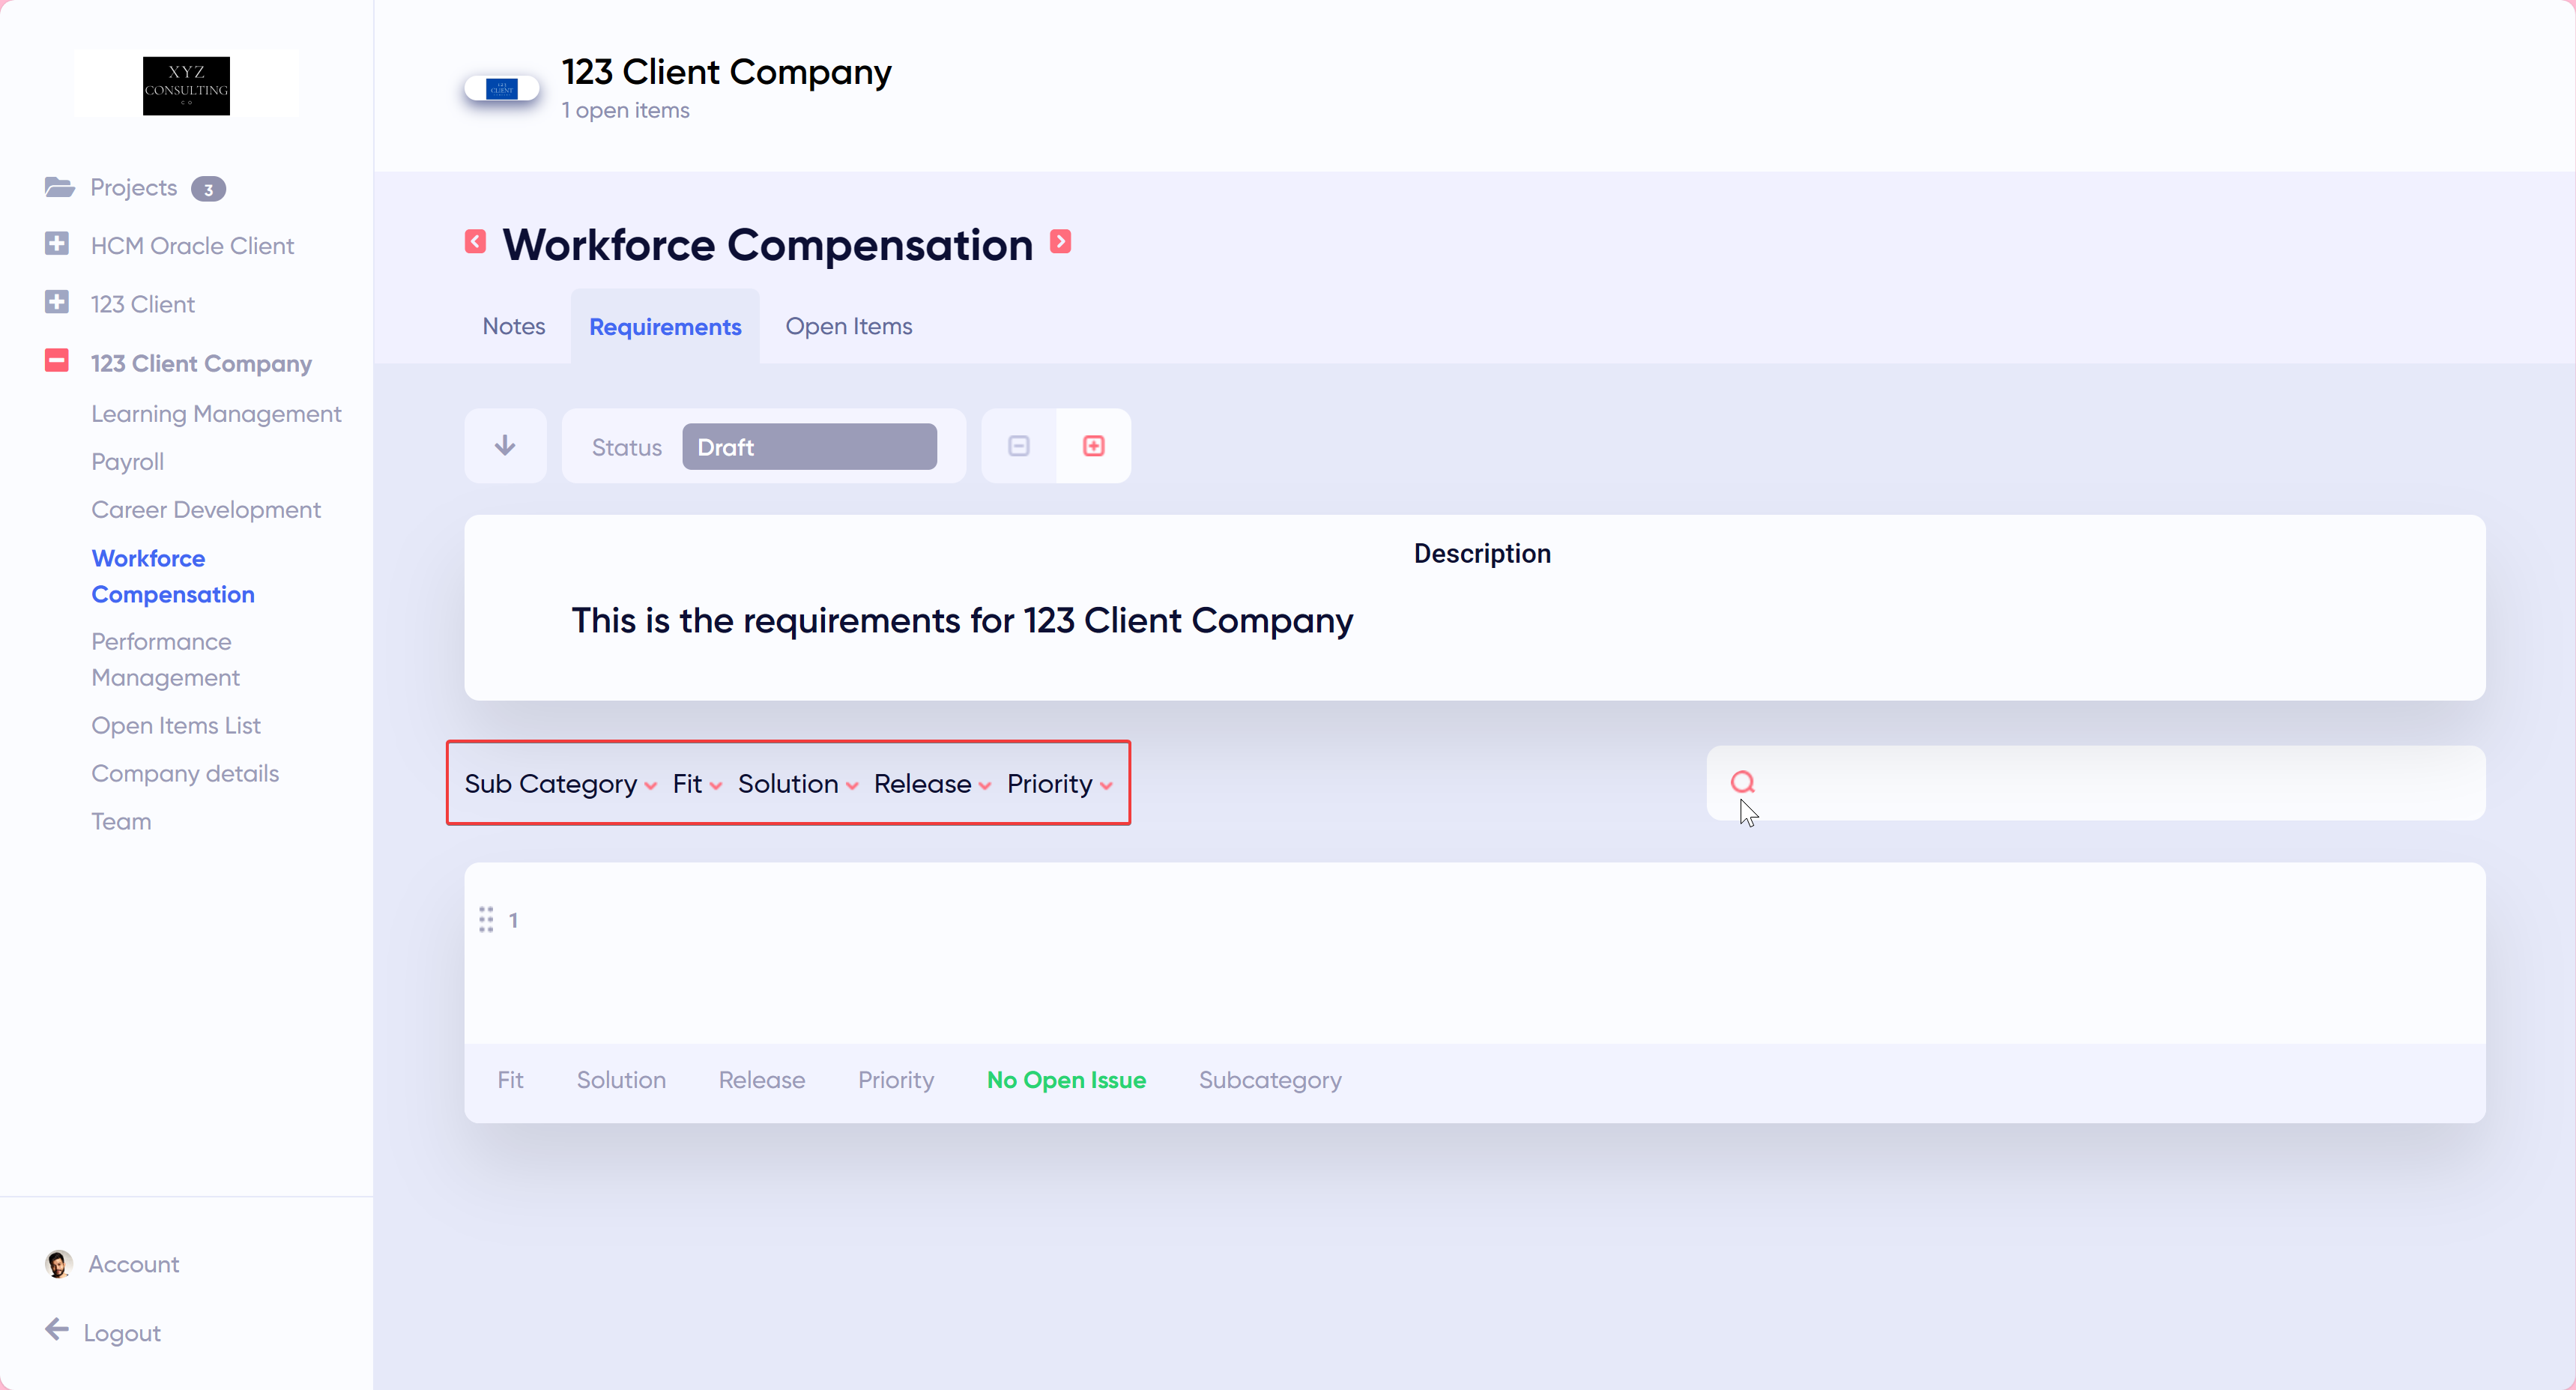
Filter requirements
To filter requirements, use the subcategory, fit, solution, release, and priority labels.
Creating and Editing Open Items
Open Items is a way to track action items that need to be done in a project. You can view all open items of a project by clicking Open Items List or the Open Items tab.
Create an Open Item

Click Add Open items to create an open item.
Description
Describe the open item.

Priority
Select the priority of the open item. Priority can be High, Medium, or Low.

Status
Status defaults to Open. This can be updated to Closed when the open item is completed.

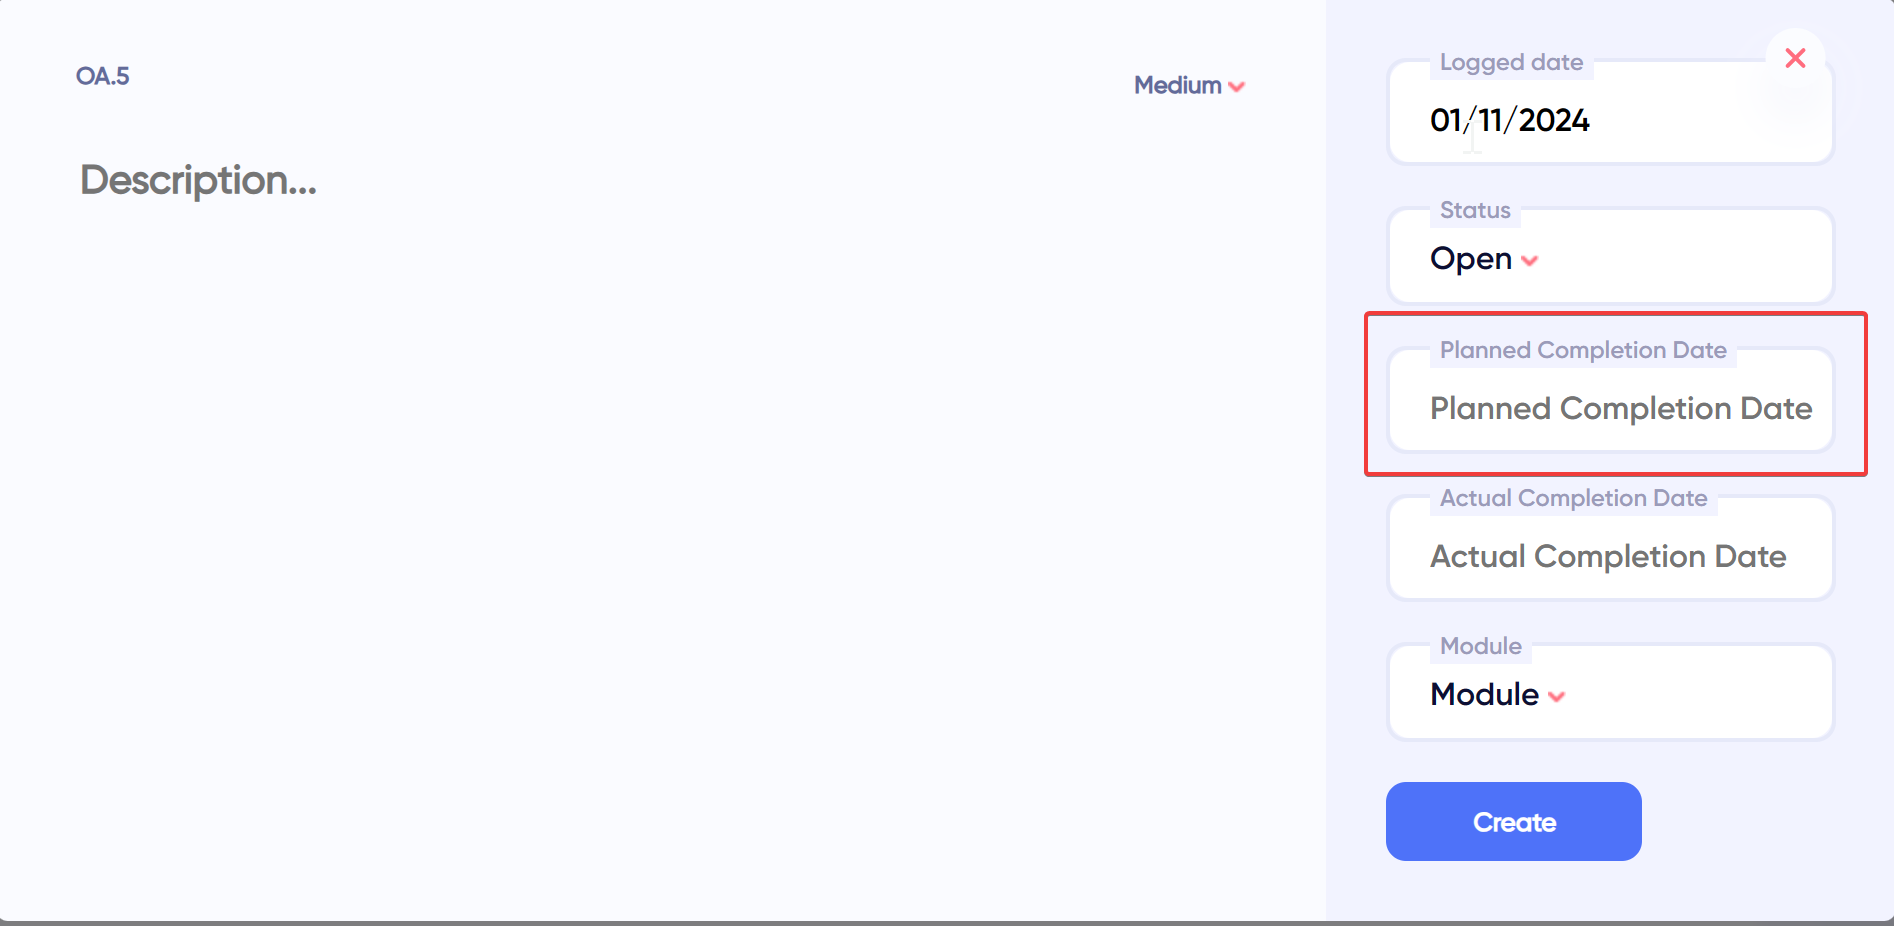
Planned Completion Date
Assign a planned date for which the open item is expected to be completed.
Actual Completion Date
Update the open item with the actual date the open item is completed.

Module
Assign a module to the open item.

Add an Update
Updates can be added to an open item to track progress. To add an update, an open item must be created first.

Linked Requirement
This allows an open item to be linked or related with a requirement. To attach a requirement to an open item, the open item must be created first. You must also select a module for the open item to link to a requirement.

Here are the steps:
On the Open Item, click Linked Requirement on the bottom–left.
Select a requirement from the dropdown.
Note: You can search requirements from the dropdown using keywords.
Edit Open Item
To edit an open item, click on the edit icon as shown in the image below. To save changes, click on the edit icon again.

Delete Open Item
To delete an open item, click the edit icon. Then, click the delete icon.

Was this article helpful?
That’s Great!
Thank you for your feedback
Sorry! We couldn't be helpful
Thank you for your feedback
Feedback sent
We appreciate your effort and will try to fix the article