Jump to Topic:
Overview
The Administrator role manages the company settings, which include managing users and methodology related fields, as well as baseline requirement templates.

Accounts
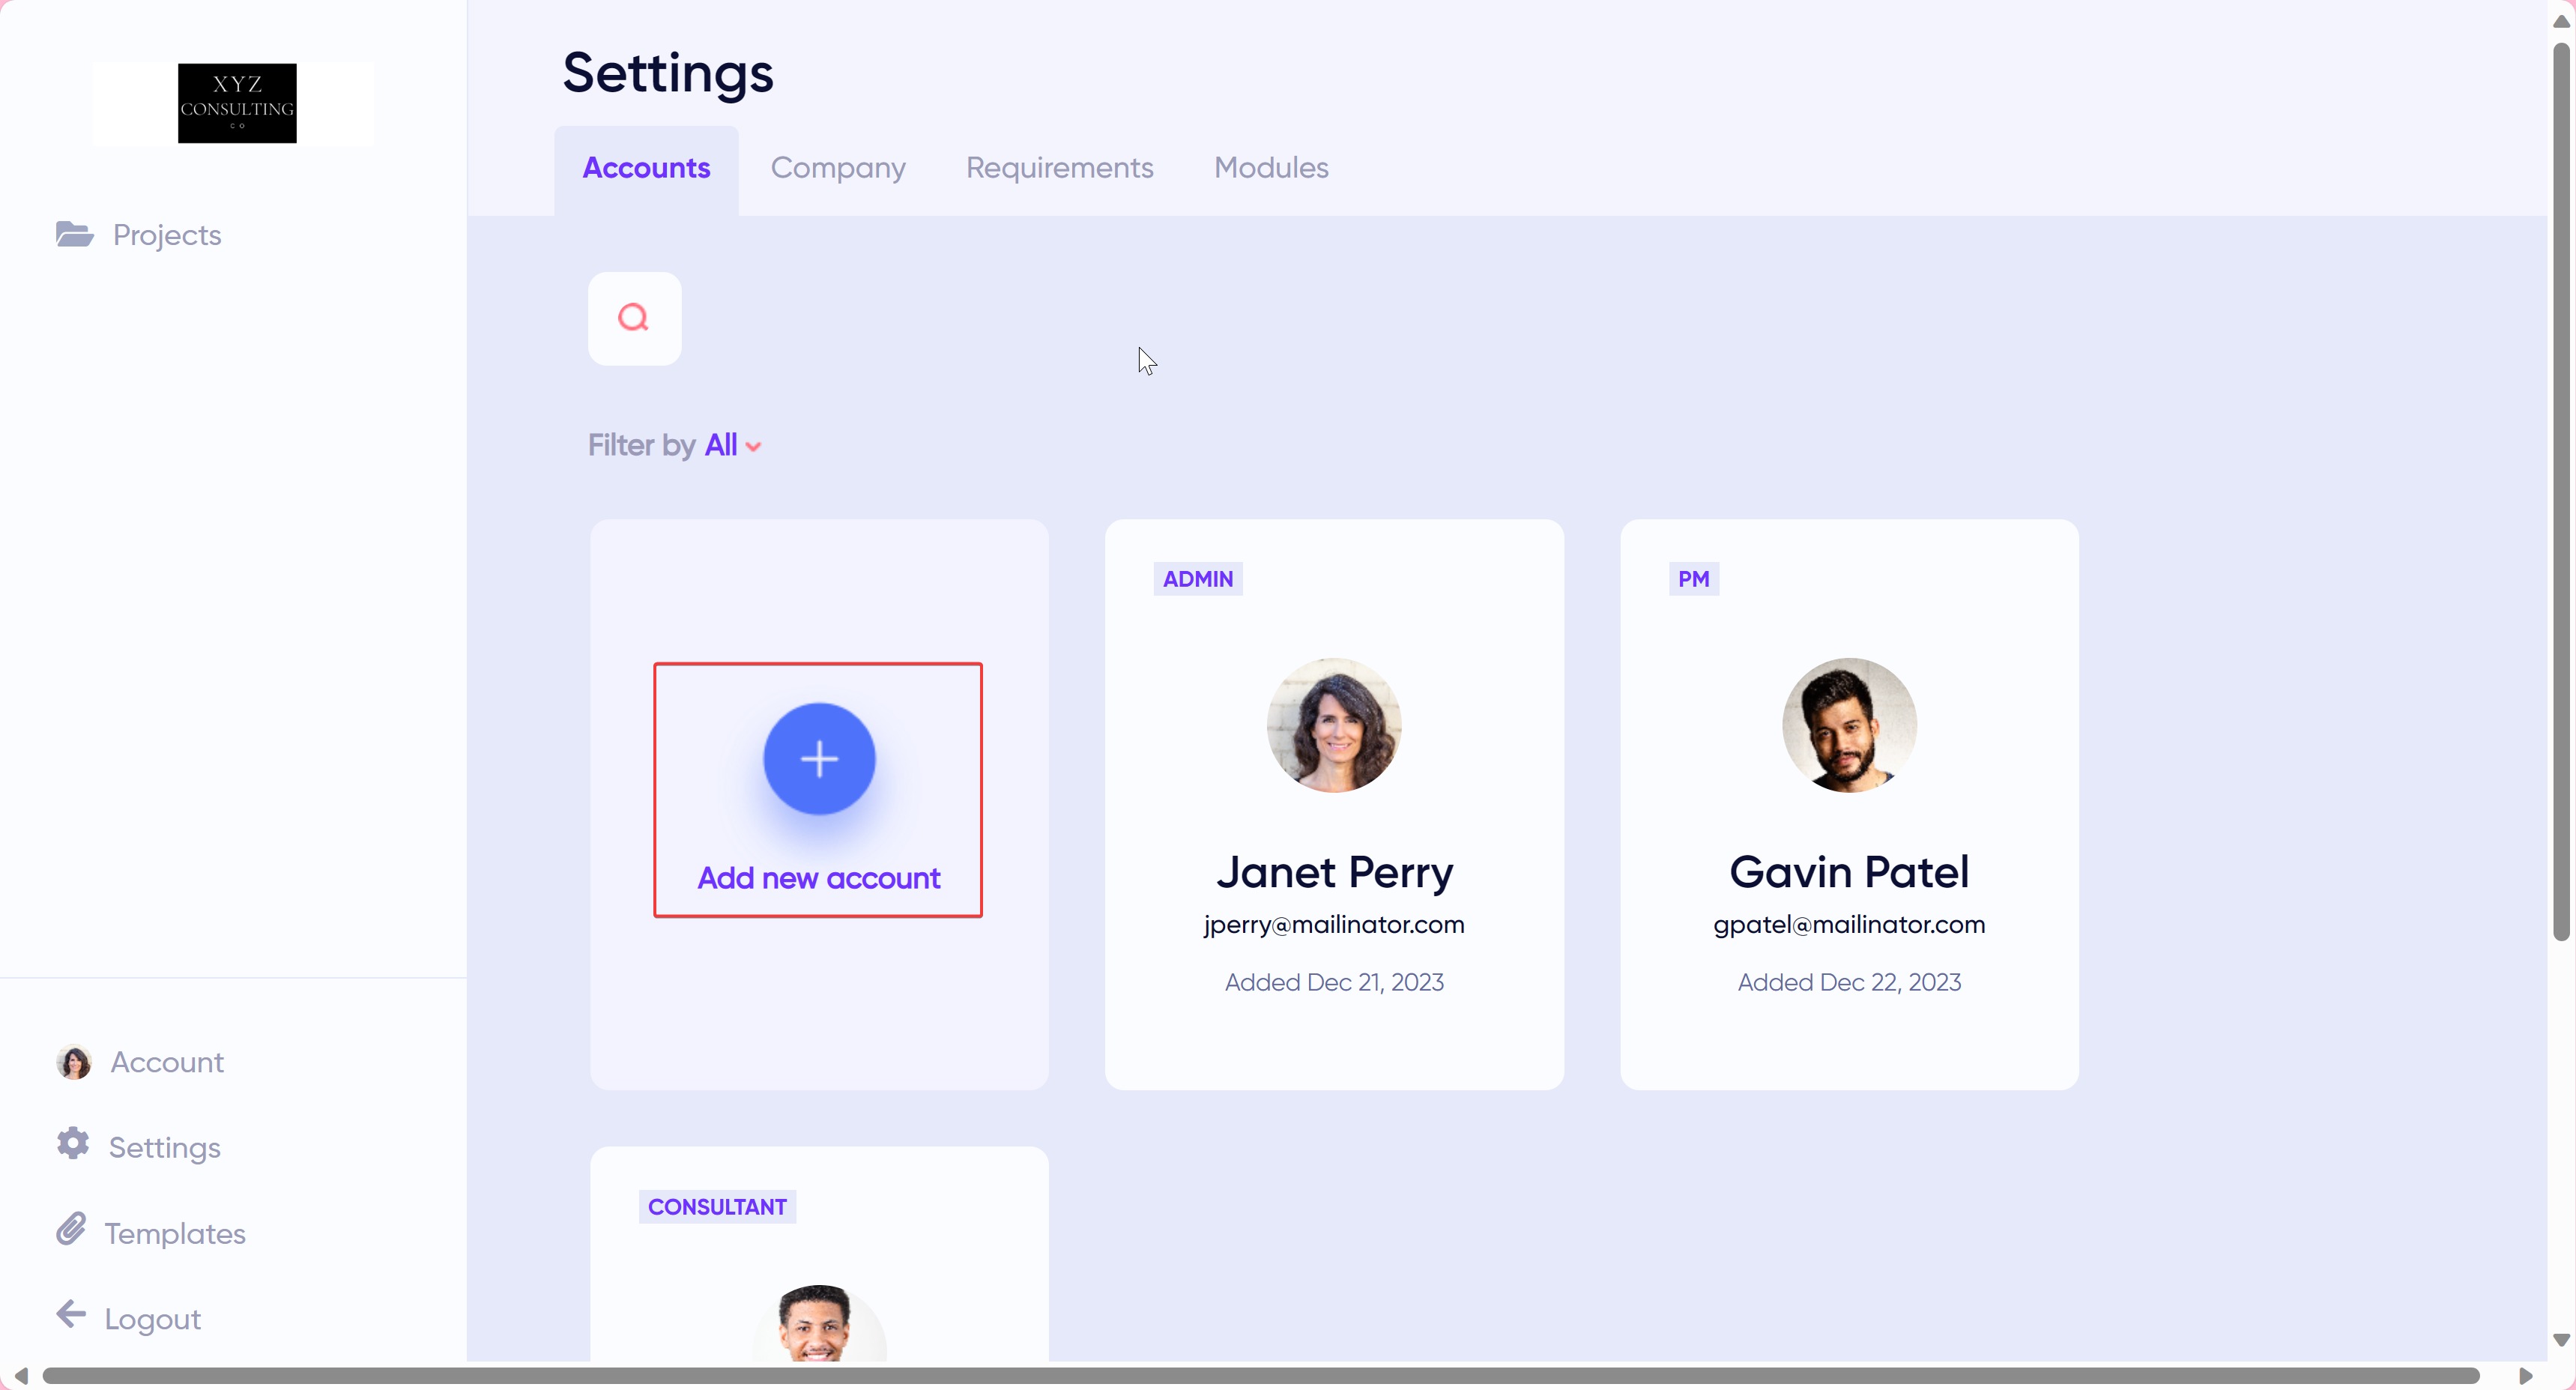
From the Settings page, the first tab is Accounts. This allows the administrator to add, edit, and inactivate user accounts.

Search
This allows the administrator to search user accounts by name or email address.

Filter by
This allows the administrator to filter user accounts by roles—consultant, project manager, and administrator.

Add New Account
This allows the administrator to add new user accounts.

Here are the steps to add a new account:
Click the Add New Account button.
Enter the Personal Information of the team member.
Note: personal information can be modified by the team member after login.
Select the user role for the team member.
Note: multiple roles can be assigned to a team member.
Click Add team member to create a new user account.
Edit User Account
To edit a user account, click on the specific User Account in the Accounts page then make the necessary edits.
Inactivate User Account

To inactivate a user account, click on the specific User account. Next, click on the three dots highlighted in the top right corner and select Inactivate. Inactive accounts cannot login yet their data is maintained in the system for future use or record keeping.
Company
The Company page is located under Settings. It allows an administrator to define the company details including company logo, name, and phone number.

Edit Company Details
Here are the steps to edit the company details:
Upload a company logo. This is not the client logo, this will be the consulting company's logo and will display in the WorkStreamr dashboard for all client projects. If a logo is not entered, the default WorkStreamr logo will remain.
Note: Logo must be jpg, bmp, or png. Minimum resolution is 200 x 200 pixels.
Enter the company name and phone number. The company name will display on certain emails such as the request for the client to approve requirements.
Note: phone number is optional.
Click Save to save changes.
User Accounts
User accounts page displays the number of used and available user accounts within the company.

Note: To increase user account limits, submit a support ticket and include the number of users needed and the effective date of the change. Only a company administrator who controls the company billings can add users.
Click here to submit a new support ticket.
Requirements
The Requirements tab allows for the modification of the list of values associated with Requirements for every project within the company. Each company will have a different methodology and this can be reflected by updating these fields accordingly. WorkStreamr comes out of the box with requirement labels including fit, release, type, and gap resolution labels and default values.
The administrator can modify each label’s list of values. It is recommended to configure these values as needed prior to starting a new project. Modifications to labels apply only to projects created after the modification.

Fit Label
The Fit classification assesses how well a software’s functionalities match a requirement.

List of Values
Below is the Fit classification default list of values and their corresponding meanings.
0% = Not Applicable.
50% = The software currently does not have a functionality that meets this requirement. Business process change may be required along with a workaround.
75% = A detailed modification to the software may satisfy this requirement.
90% = A simple modification to the software may satisfy this requirement.
100% = The software is capable of meeting this requirement with standard functionality and/or configuration.
Release Label
The Release label is used to track a requirement that will be addressed in a future release of a vendor's software application. It is an internal-only field. It is visible to the consultant/project manager roles and not to the client when they approve the requirement.
The Release label default list of values is quarterly to reflect Oracle Cloud release schedule. Modify as needed.

List of Values
Below is the Release label default list of values and their corresponding meanings. These are example values based on the Oracle quarterly update cycle. It is recommended to update these values.
22A
22B
22C
22D
Type Label
The Priority type label ranks requirements according to how important they are to clients. It can be modified to use a different set of values.

List of Values
Below is the Type label default list of values and their corresponding meanings.
Low: Low priority.
High: High priority.
Medium: Medium priority.
Gap Resolution Label
The Gap Resolution label describes how requirements might be addressed in the case of a gap.

List of Values
Below is the Gap Resolution default list of values.
Not Available
Report Required
Custom Role Required
Partial Functionality
Standard Functionality
Personalization Required
Technical Effort Required
Vendor Integration Required
Modules
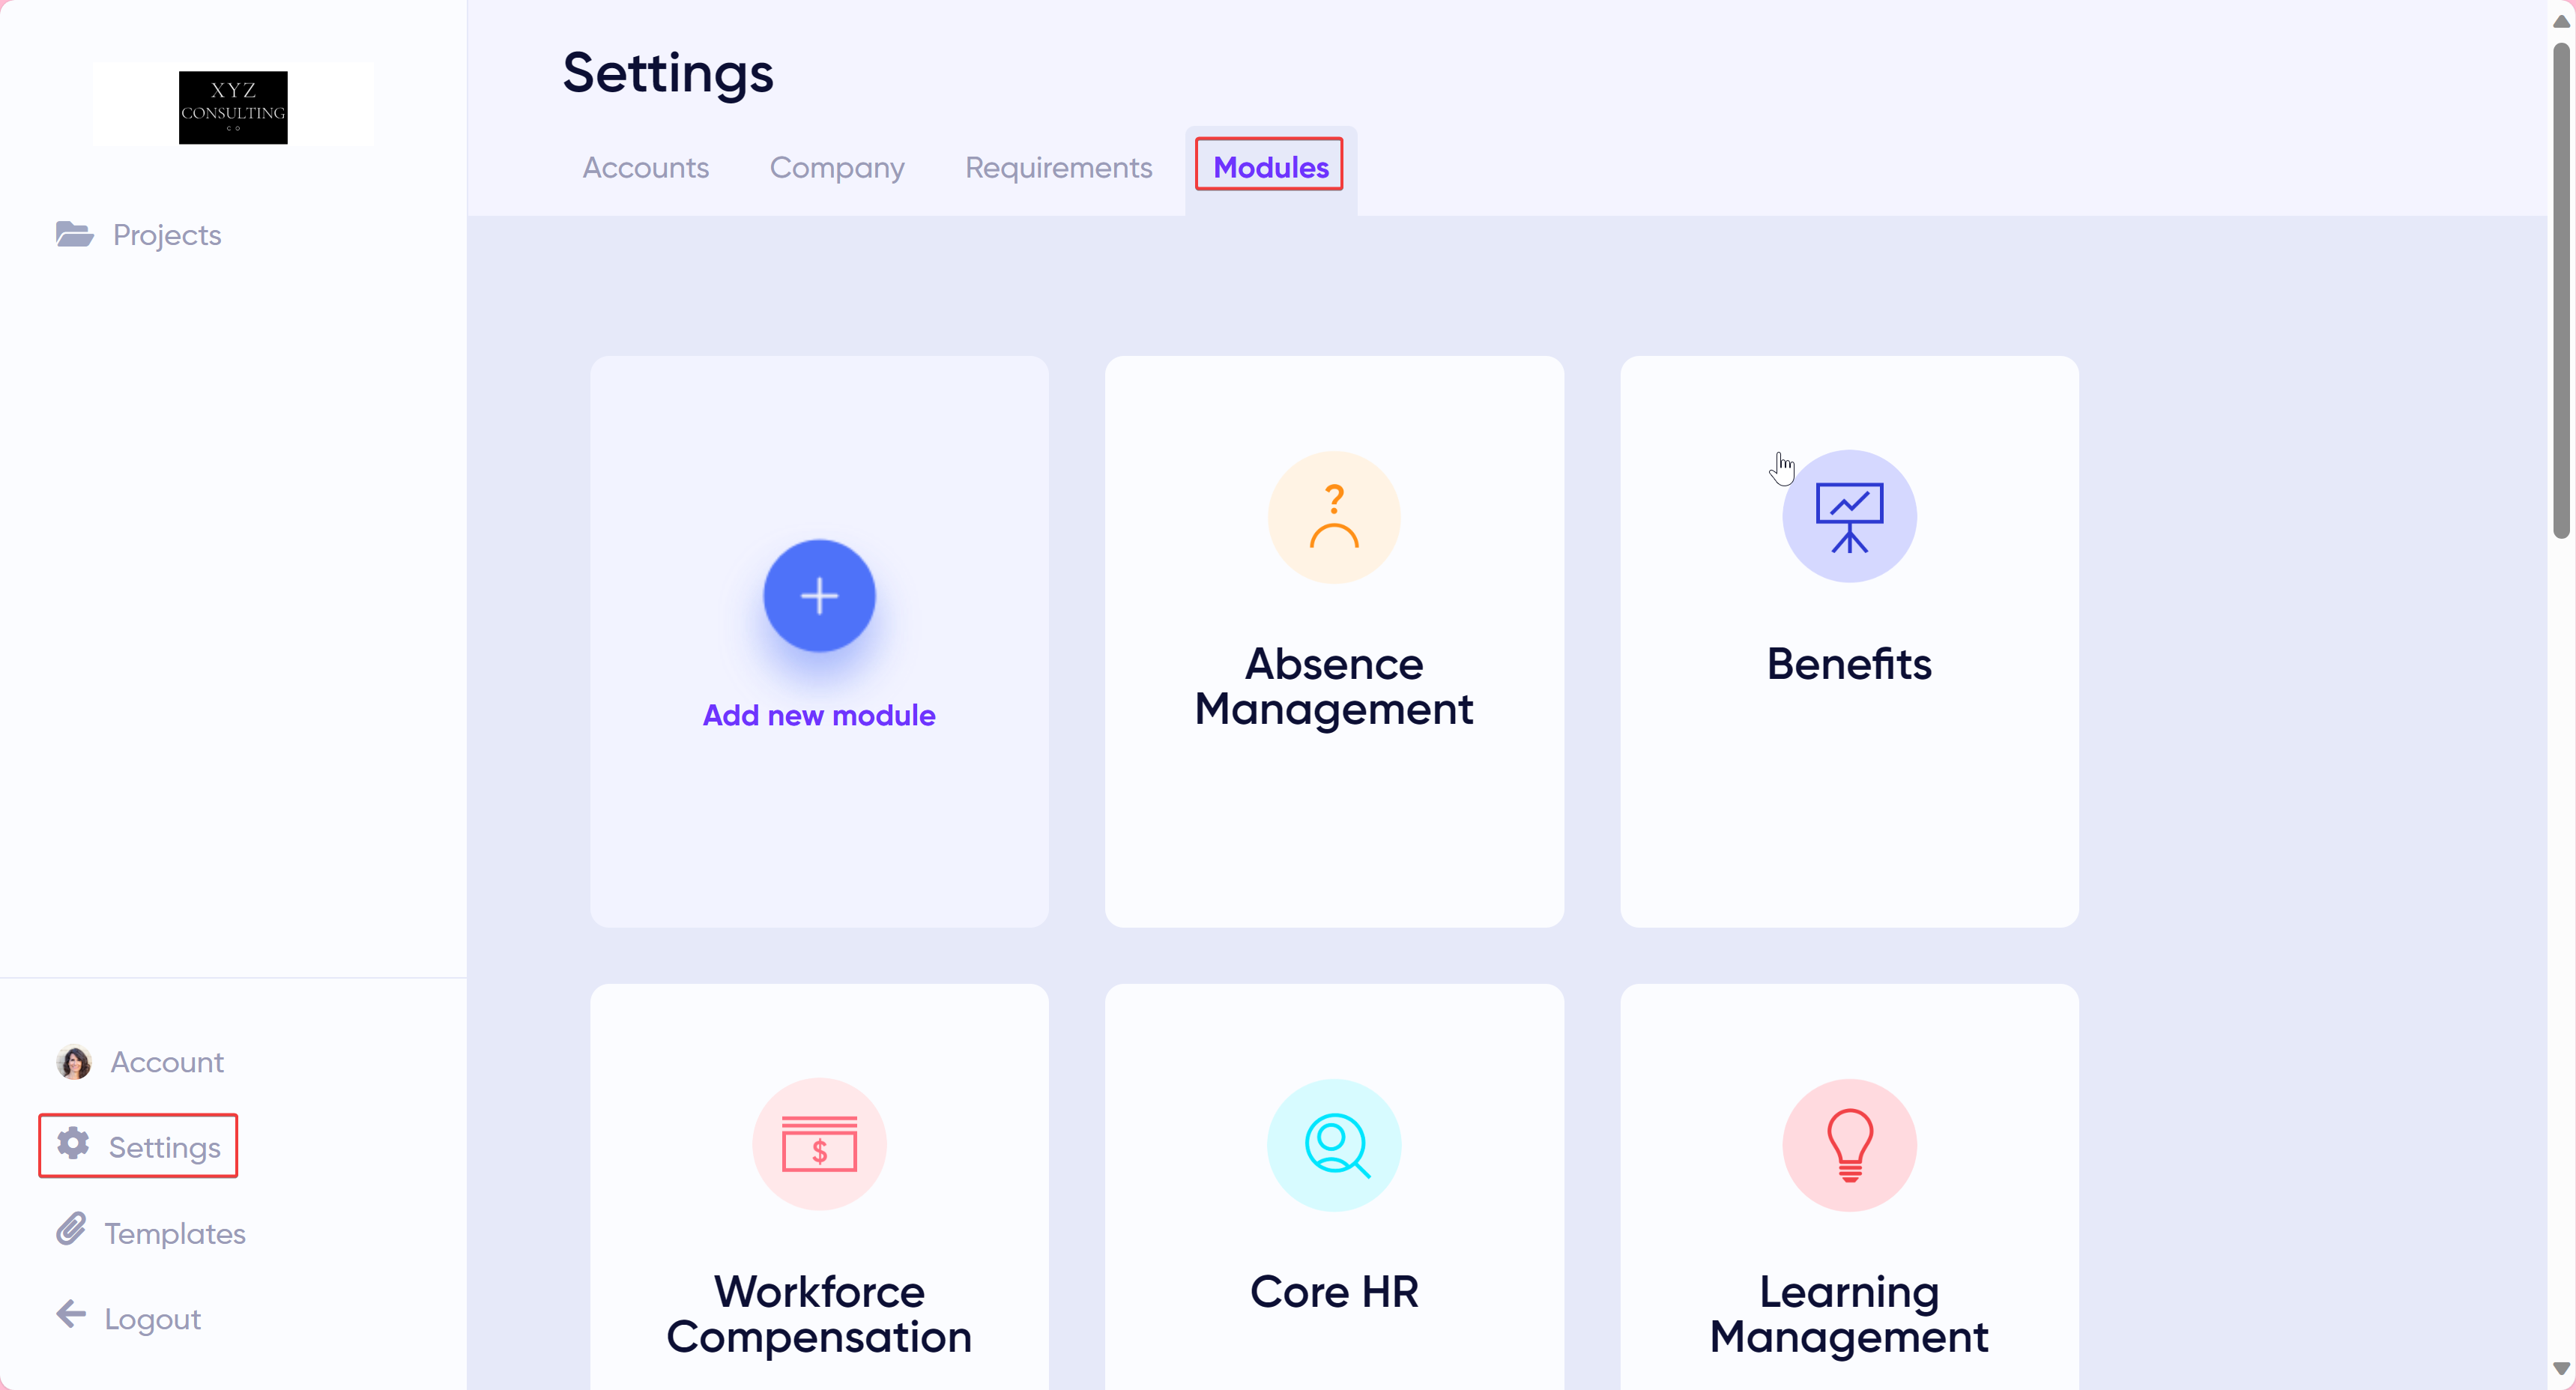
The Modules tab allows Administrators to add, edit, and delete modules associated with the software they use with client projects.
Workstreamr comes with a set of predefined modules based on Oracle Cloud Applications Human Capital Management. Each module also comes with a set of predefined subcategories. Each requirement created within a module can be tagged with a subcategory to further classify the requirement. It is recommended to create the modules and subcategories for each prior to starting a new project that will use those modules.

Add New Module
To add a new module, follow the steps below:
Click on Add new module.
Type in the name of the module in the Add module field.
Select an icon for the module.
Click on Add module.
Add Subcategories to a Module
To add subcategories to a module, follow the steps below:
Click on the module.
Under Subcategories, click on Add subcategory.
Enter the Value name.
Deleting Subcategories
To delete a subcategory, follow the steps below:
Click on the module.
Under Subcategories, find the subcategory to be deleted.
Click on the delete icon.
Delete Module
To delete a module, follow the steps below:
Click on the module.
Click on the three-dot menu icon.
Click on Delete module.
Manage Icons
Icons can be added and deleted. To add an icon for a module, follow the steps below:
Click on the module.
Click on the Module icon.
Under “choose an icon for the module”, Click on the Add icon.
Select an icon from your local machine.
Press Enter.
To delete an icon, follow the steps below:
Click on the module.
Click on the Module icon.
Under “choose an icon for the module”, select the icon.
Under “choose an icon for the module”, click the Delete icon.
Re-select the icon again.
Confirm the Delete action in the pop-up window.
Templates
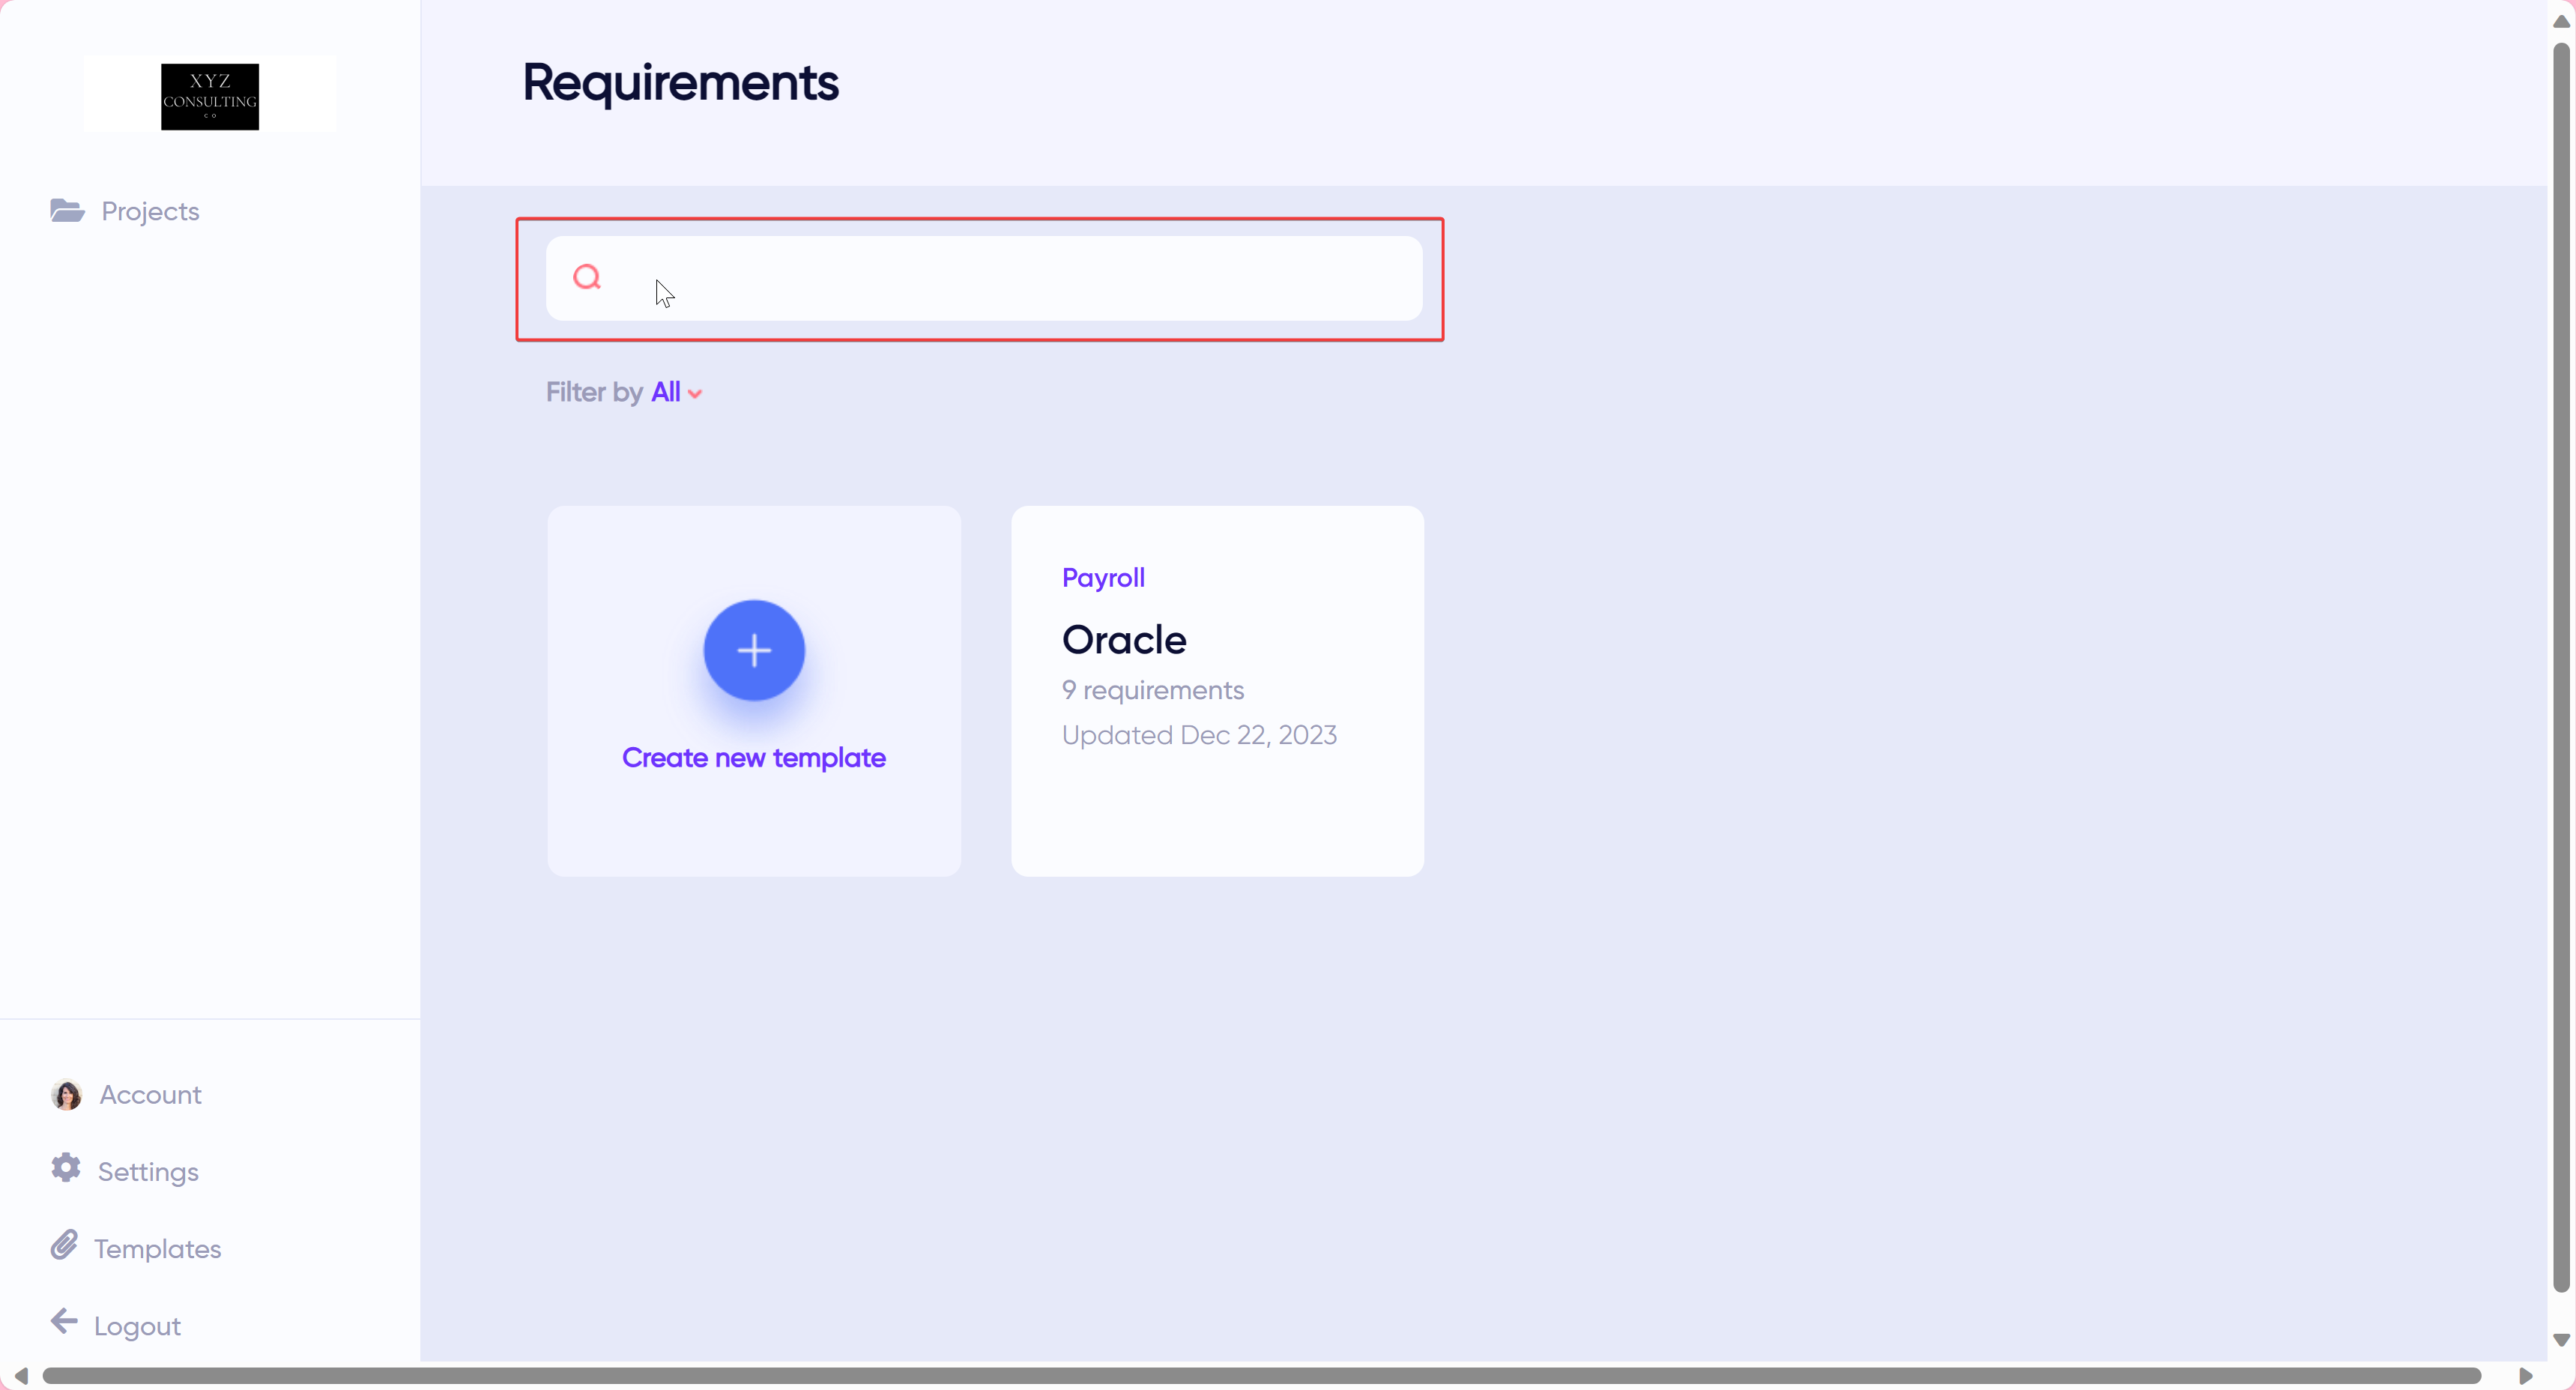
Templates allow administrators to define requirement templates for modules to be used as a starting point for new projects. When consultants first begin working within a project, they can select a template to auto-populate baseline requirements.

Search
This allows the administrator to search templates by name or module.

Filter Templates
This allows the administrator to filter templates by modules.

Create New Template
This allows the administrator to add new templates.

Here are the steps to add a new template:
Click the Create New Template button.
Enter a name for the template.
Select a module.
Click on the Save button.
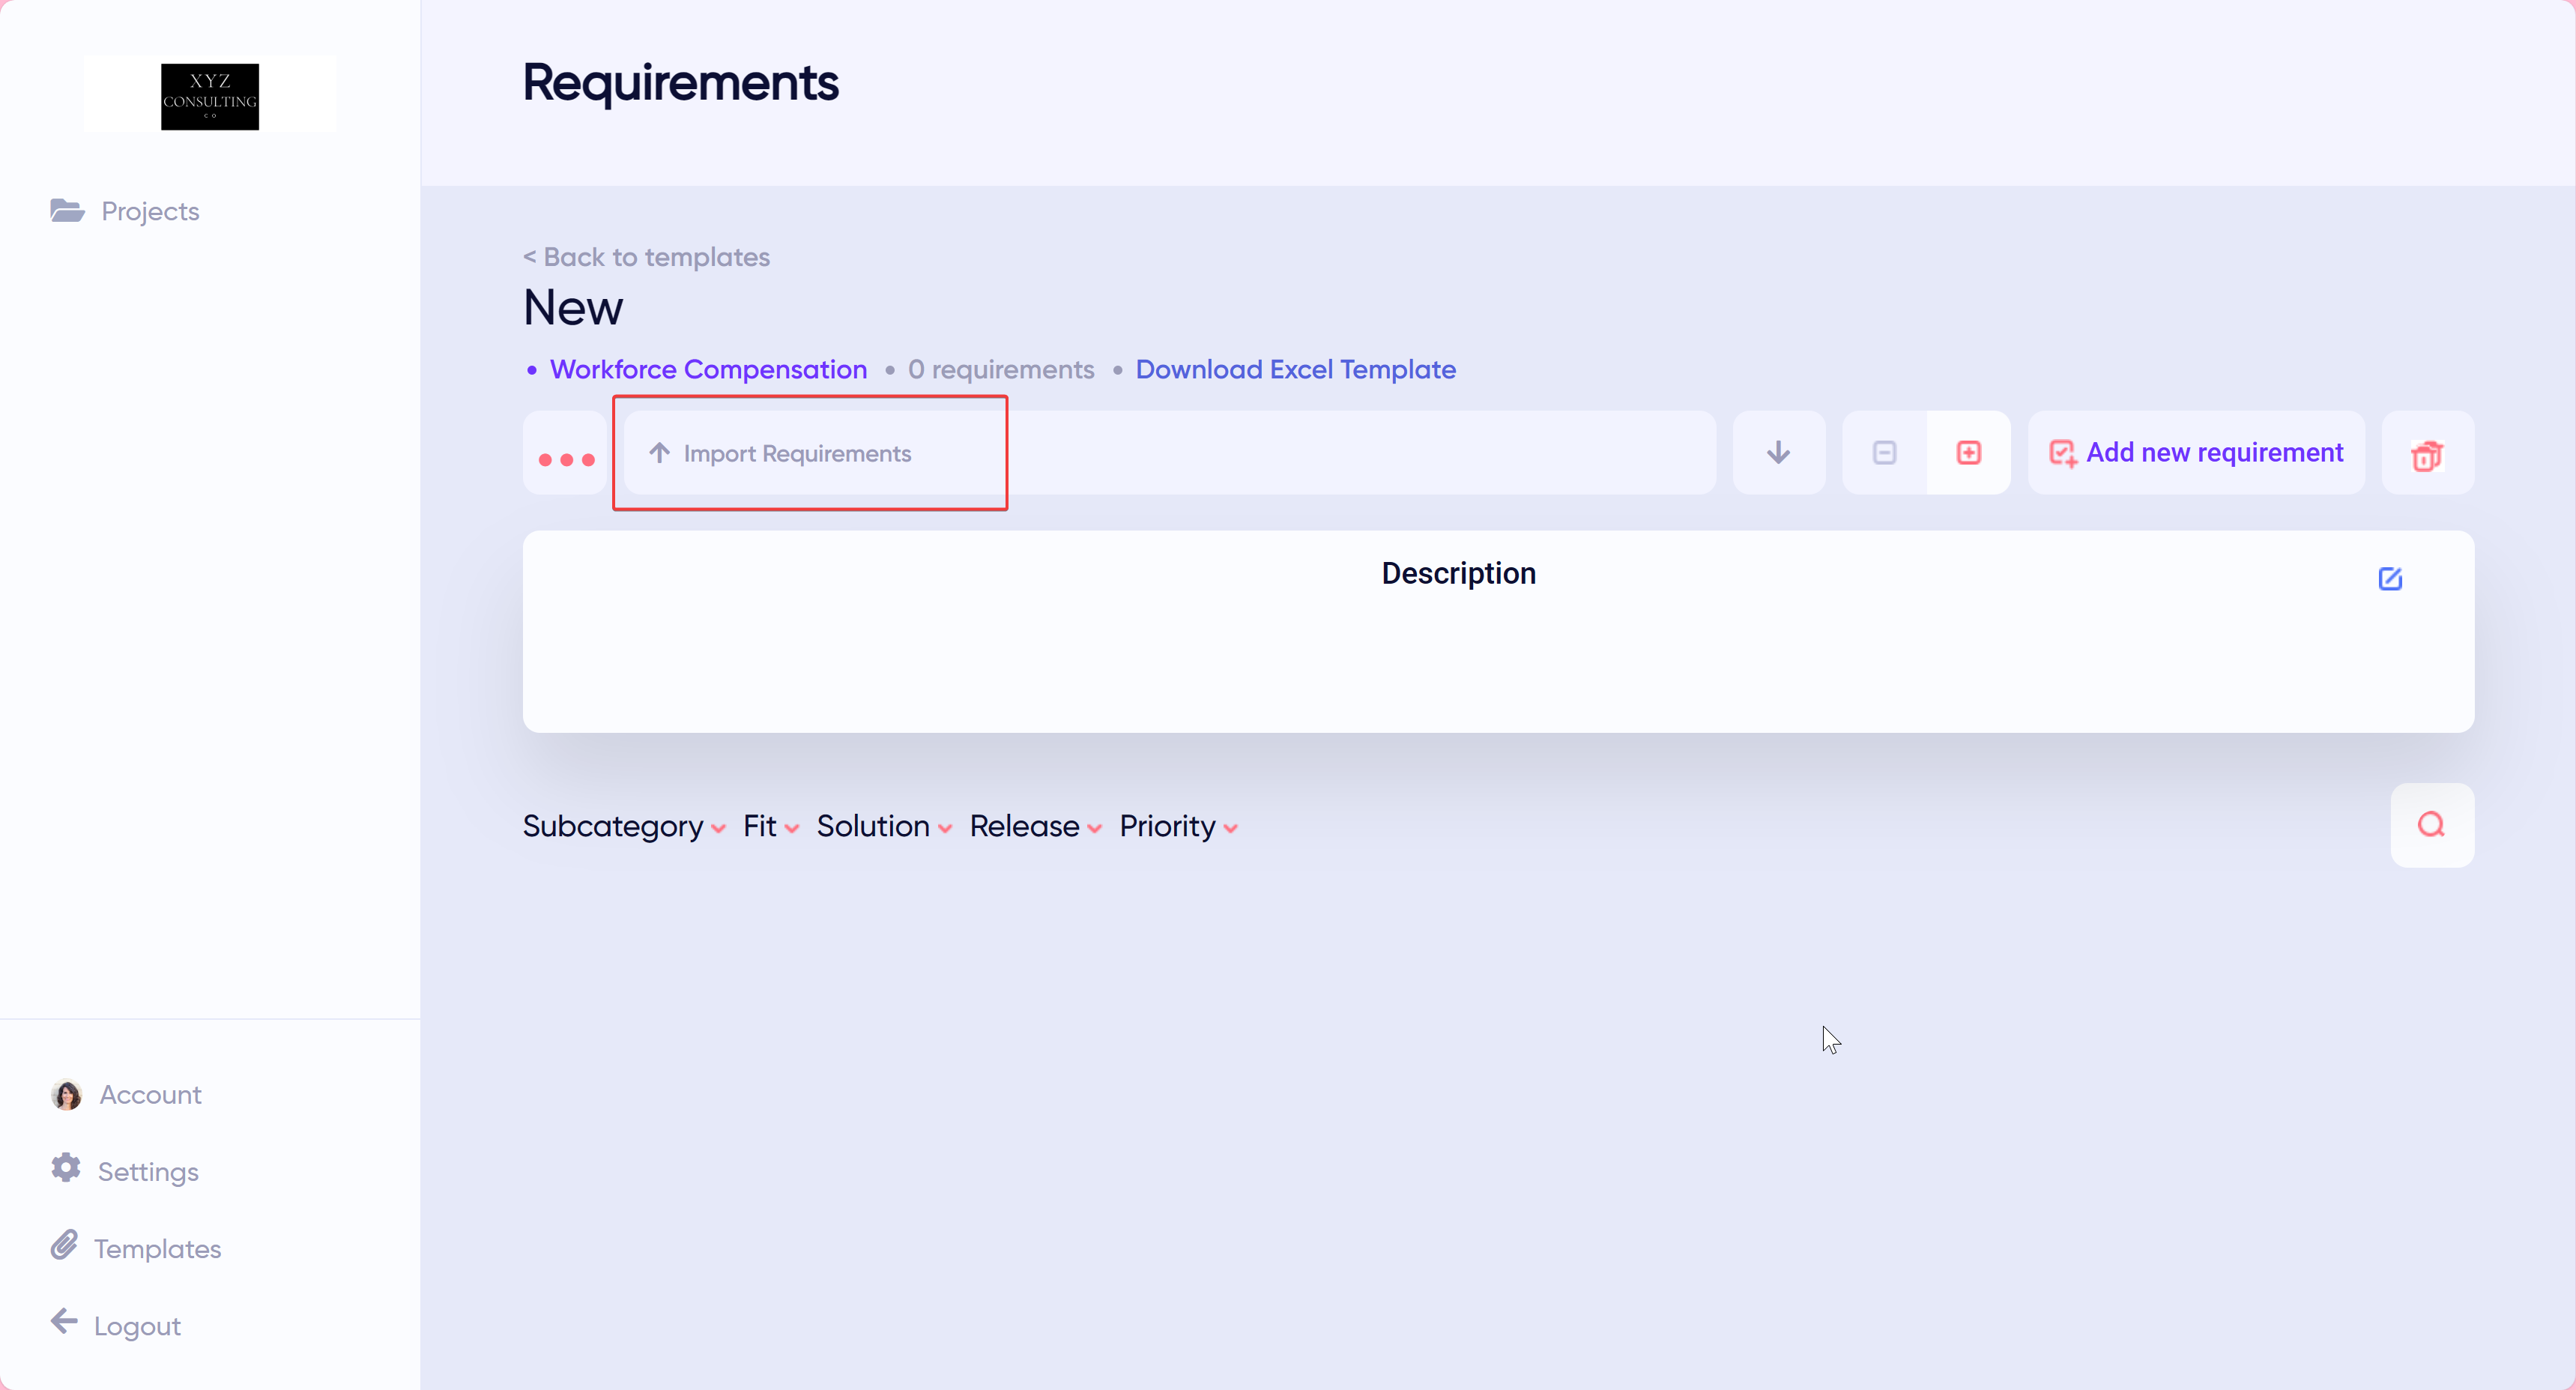
Import Requirements from Excel
This is optional. It allows an administrator to add requirements from an Excel document.

Here are the steps to add requirements using an Excel template:
Click on the template in the Templates page.
Click Download Excel Template since it will include the list of values you specified in the Settings > Requirements page and these will need to match for the import to be successful.
Modify the Excel template with your requirements.
Note: Make sure the file has the following fields, namely, fit, description, solution, priority, release, subcategory, and comments.
Save changes locally.
Click on Import Requirements.
Select the modified Excel file.
In the Tab column, select the appropriate sheet.
Map the imported file fields to the template fields.
Click the Save & Continue button.
Review the requirements.
Click the Submit button.
Create Requirements
Alternatively, you can directly create requirements. Just click the Add New Requirement button.

Then enter the details of each generic requirement. Repeat as needed until all generic requirements are added to the template.
Edit Templates

If you need to modify the name or module of a template, then you can edit the template:
Click on the template in the Templates page.
Click on the three-dot menu icon.
Click on Edit template.
Click Save Template to save changes.
If a template's module is changed, the subcategory values will need to be updated to match the new module.
Delete Templates

Click on the template in the Templates page.
Click on the three-dot menu icon.
Click on Delete Template.
Was this article helpful?
That’s Great!
Thank you for your feedback
Sorry! We couldn't be helpful
Thank you for your feedback
Feedback sent
We appreciate your effort and will try to fix the article